
Screed Systems
Laying Screed Over Insulation: Practical Build-Up Guide
A practical, site-focused guide to installing liquid screed over insulation, covering the details that often get overlooked.
Quick answer: an insulated screed is a floating build-up — insulation boards, a taped separating membrane, perimeter edge strip, then the screed on top, not bonded to anything below. Because it floats, it needs more depth than a bonded screed: we lay unbonded screed over insulation from 50mm, deeper where pipes or loads call for it.
Laying screed over insulation is one of the most common build-ups in modern construction, but the practical details — board joints, membrane laps, edge detailing — matter as much as the headline specification. Get these wrong and you risk screed leaking into joints, uneven support, or reduced thermal performance.
This guide focuses on the site sequencing and detailing rather than repeating the structural design principles: how boards are laid, how the membrane is lapped and taped, and how services and pipework are protected before the pour.
It applies broadly whether the insulation sits beneath a floating screed or as part of an acoustic floor build-up, since the detailing principles for containing the pour and protecting the boards are largely shared across both applications.
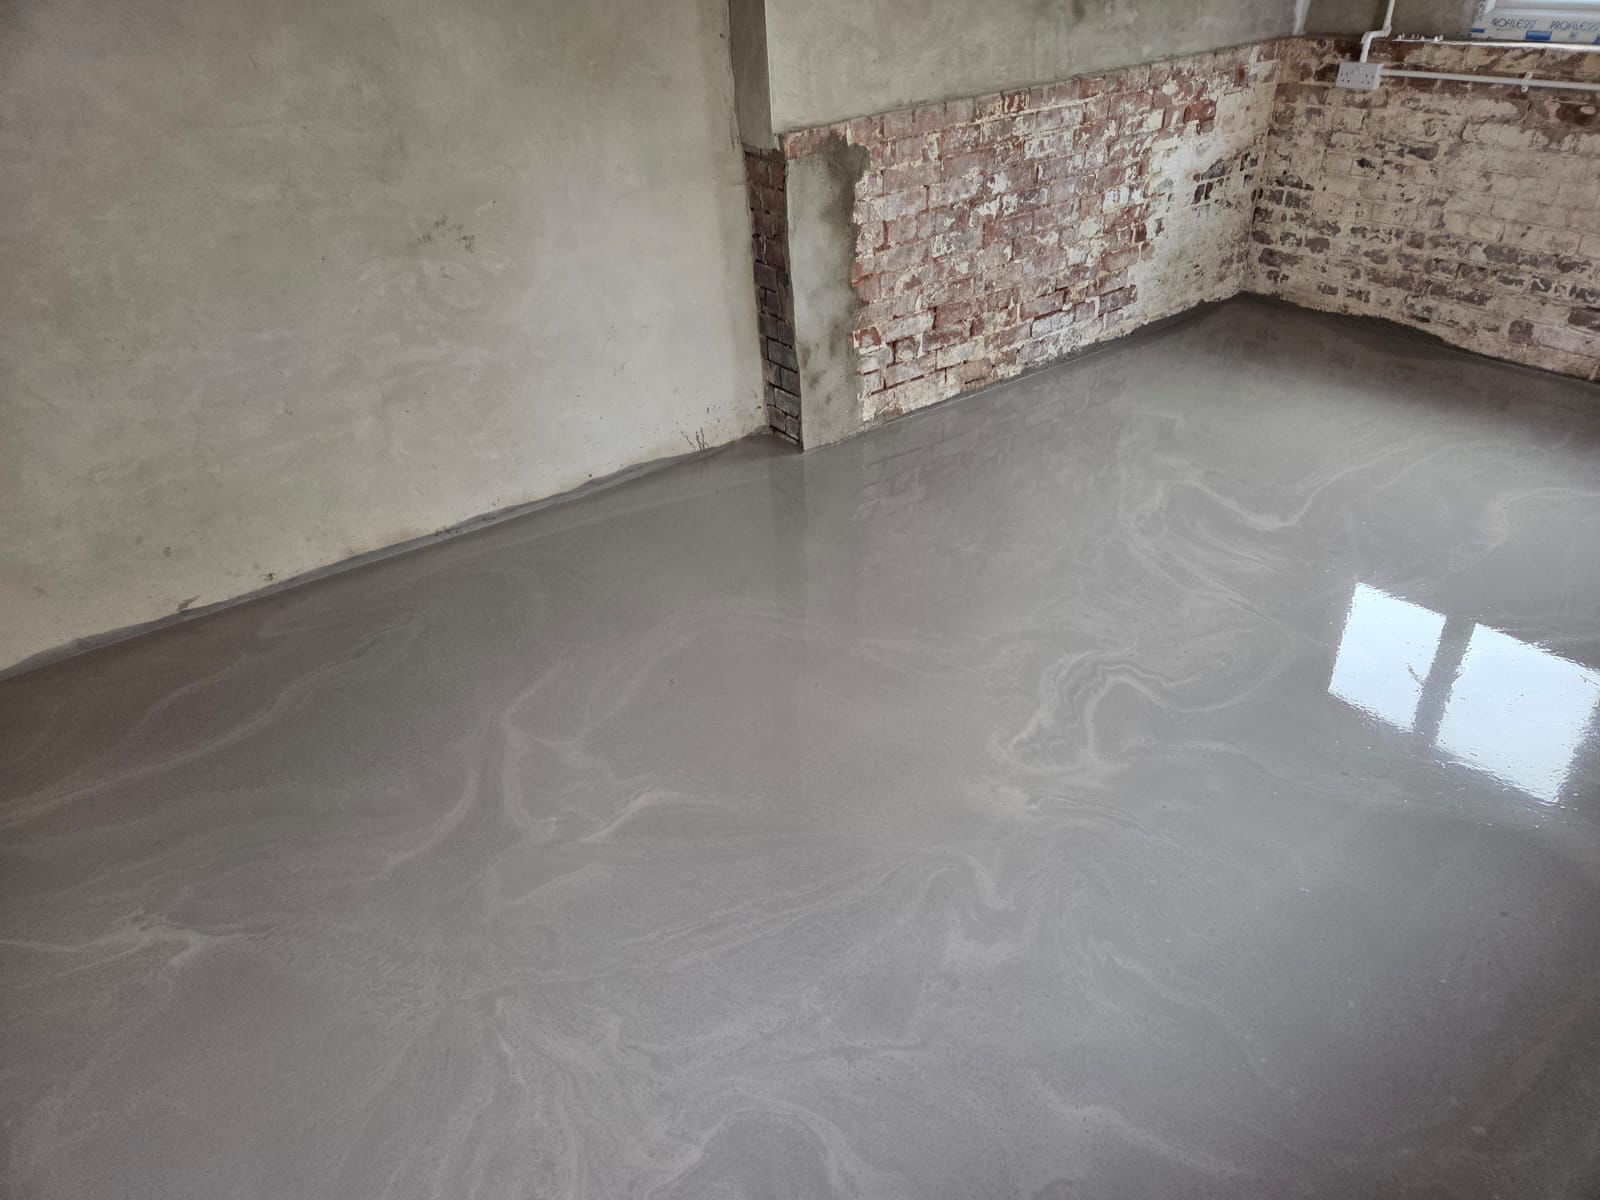
Screed Over Insulation — the points that decide it
- Insulation boards are laid tight-butted in a brick-bond pattern to avoid continuous joints
- A separating membrane is taped and lapped up the perimeter walls above final screed level
- Board joints and any gaps are taped to stop fluid screed migrating beneath the boards
- Services and UFH manifolds are protected and clearly marked before the pour begins
- Edge insulation strip is fitted around the full perimeter for movement accommodation
- Site traffic across laid insulation should be minimised to avoid board damage before the pour
- Any damaged or crushed boards should be replaced rather than screeded over
- Cut pieces at the perimeter still need adequate bearing to avoid crushing under load
- Doorway thresholds are dammed to keep the pour contained to the correct zone
Board-laying detail that protects the pour
Insulation boards are best laid in a staggered, brick-bond pattern so joints don't run continuously across the floor, which helps distribute load and reduces the chance of a straight-line weak point. Cut pieces at the perimeter should still achieve reasonable bearing rather than leaving slivers that can crush under the fluid screed's weight.
Where boards meet pipework, manifolds or upstands, cutting needs to be close and tidy — gaps here are a common route for fluid screed to migrate beneath the insulation, which can affect both thickness accuracy and thermal performance.
Membrane and edge detailing
The separating membrane should be run up the walls above the final screed line and taped at laps to form a continuous, watertight tray that contains the fluid mix during the pour — a torn or under-lapped membrane is one of the most common causes of screed leaking into adjoining rooms or below floors.
Edge insulation strip around the perimeter isn't just a formality; it absorbs thermal and moisture-related movement in the screed slab and should be fitted to full screed depth, trimmed neatly after the pour rather than left proud and exposed.
Sequencing the pour around services
Pipework, manifolds and any electrical conduits within the build-up should be pressure-tested, secured and clearly marked before the pour begins, since anything left loose or unmarked risks being disturbed or damaged as the screed is placed and worked with a dappling bar.
A pre-pour walk-through with the site team to confirm datum levels, service positions and dammed openings is a simple step that avoids costly surprises once the fluid screed is already on the floor.
Quality checks before the screed goes down
A final check for crushed or displaced boards, gaps at joints, and secure membrane laps should be carried out immediately before the pump arrives, since any correction is far easier before the screed is poured than after.
Confirming datum and level pins against the laser reference at this stage also catches any settlement or disturbance in the insulation layer that may have occurred since it was first laid.
Screed Over Insulation — your questions
Planning a screed over insulation build-up?
Exeter Liquid Screeders handle insulation, membrane and edge detailing as standard ahead of every pour.
Or call our landline on 01392 237700
In short
A practical, site-focused guide to installing liquid screed over insulation, covering the details that often get overlooked.
Planning a screed over insulation build-up?
Exeter Liquid Screeders handle insulation, membrane and edge detailing as standard ahead of every pour.