
Substrates & Preparation
Preparing a Chipboard Deck for Liquid Screed
P5 moisture-resistant chipboard is a common deck under liquid screed on timber floors, but it needs the right grade, fixings and taped joints.
Installing or inheriting a chipboard deck before screeding?
We can check the deck specification and fixing before your pour date and flag anything that needs addressing first.
Or call our landline on 01392 237700
Chipboard decking is a familiar sight on suspended timber floors, and P5 moisture-resistant tongue-and-groove boards are a common choice for the rigid deck beneath a liquid screed. It's cheaper than structural plywood in many cases and performs well provided the grade, fixing and jointing are all correct — get any of those wrong and the deck can move, squeak or delaminate under a curing screed.
This page focuses specifically on the chipboard deck itself, separate from the wider question of joist spacing and deflection covered elsewhere.
Chipboard's popularity comes down to cost and availability rather than any inherent superiority over plywood, and on a well-specified, correctly fixed floor it performs entirely adequately under liquid screed. Problems tend to arise not from the material itself but from the wrong grade being used, joints left unglued, or boards fixed with too few screws at too wide a spacing.
Chipboard Decking — the points that decide it
- P5 grade (moisture-resistant, for use in humid conditions) is the minimum specification typically used under a liquid screed, not standard P4 flooring grade
- Tongue-and-groove joints should be glued as well as screwed to stop movement and squeaking once loaded
- Board thickness needs to suit joist centres — thinner boards over wide joist spacing will flex regardless of grade
- Screws (not just nails) at correct centres into every joist keep the deck rigid and stop panel edges lifting
- Any damaged, delaminated or swollen boards should be replaced before the separating membrane and screed go down
- A separating layer between the chipboard and the screed protects the board from the screed's mix water during the pour
- Boards should be conditioned to site humidity for a short period before fixing, since chipboard can expand slightly after leaving factory-controlled storage
- Expansion gaps at perimeters and around fixed obstructions follow the board manufacturer's guidance rather than being butted tight against every wall
- Underfloor heating pipe fixing systems used over a chipboard deck should be compatible with the board and not compromise its structural integrity through excessive stapling or grooving
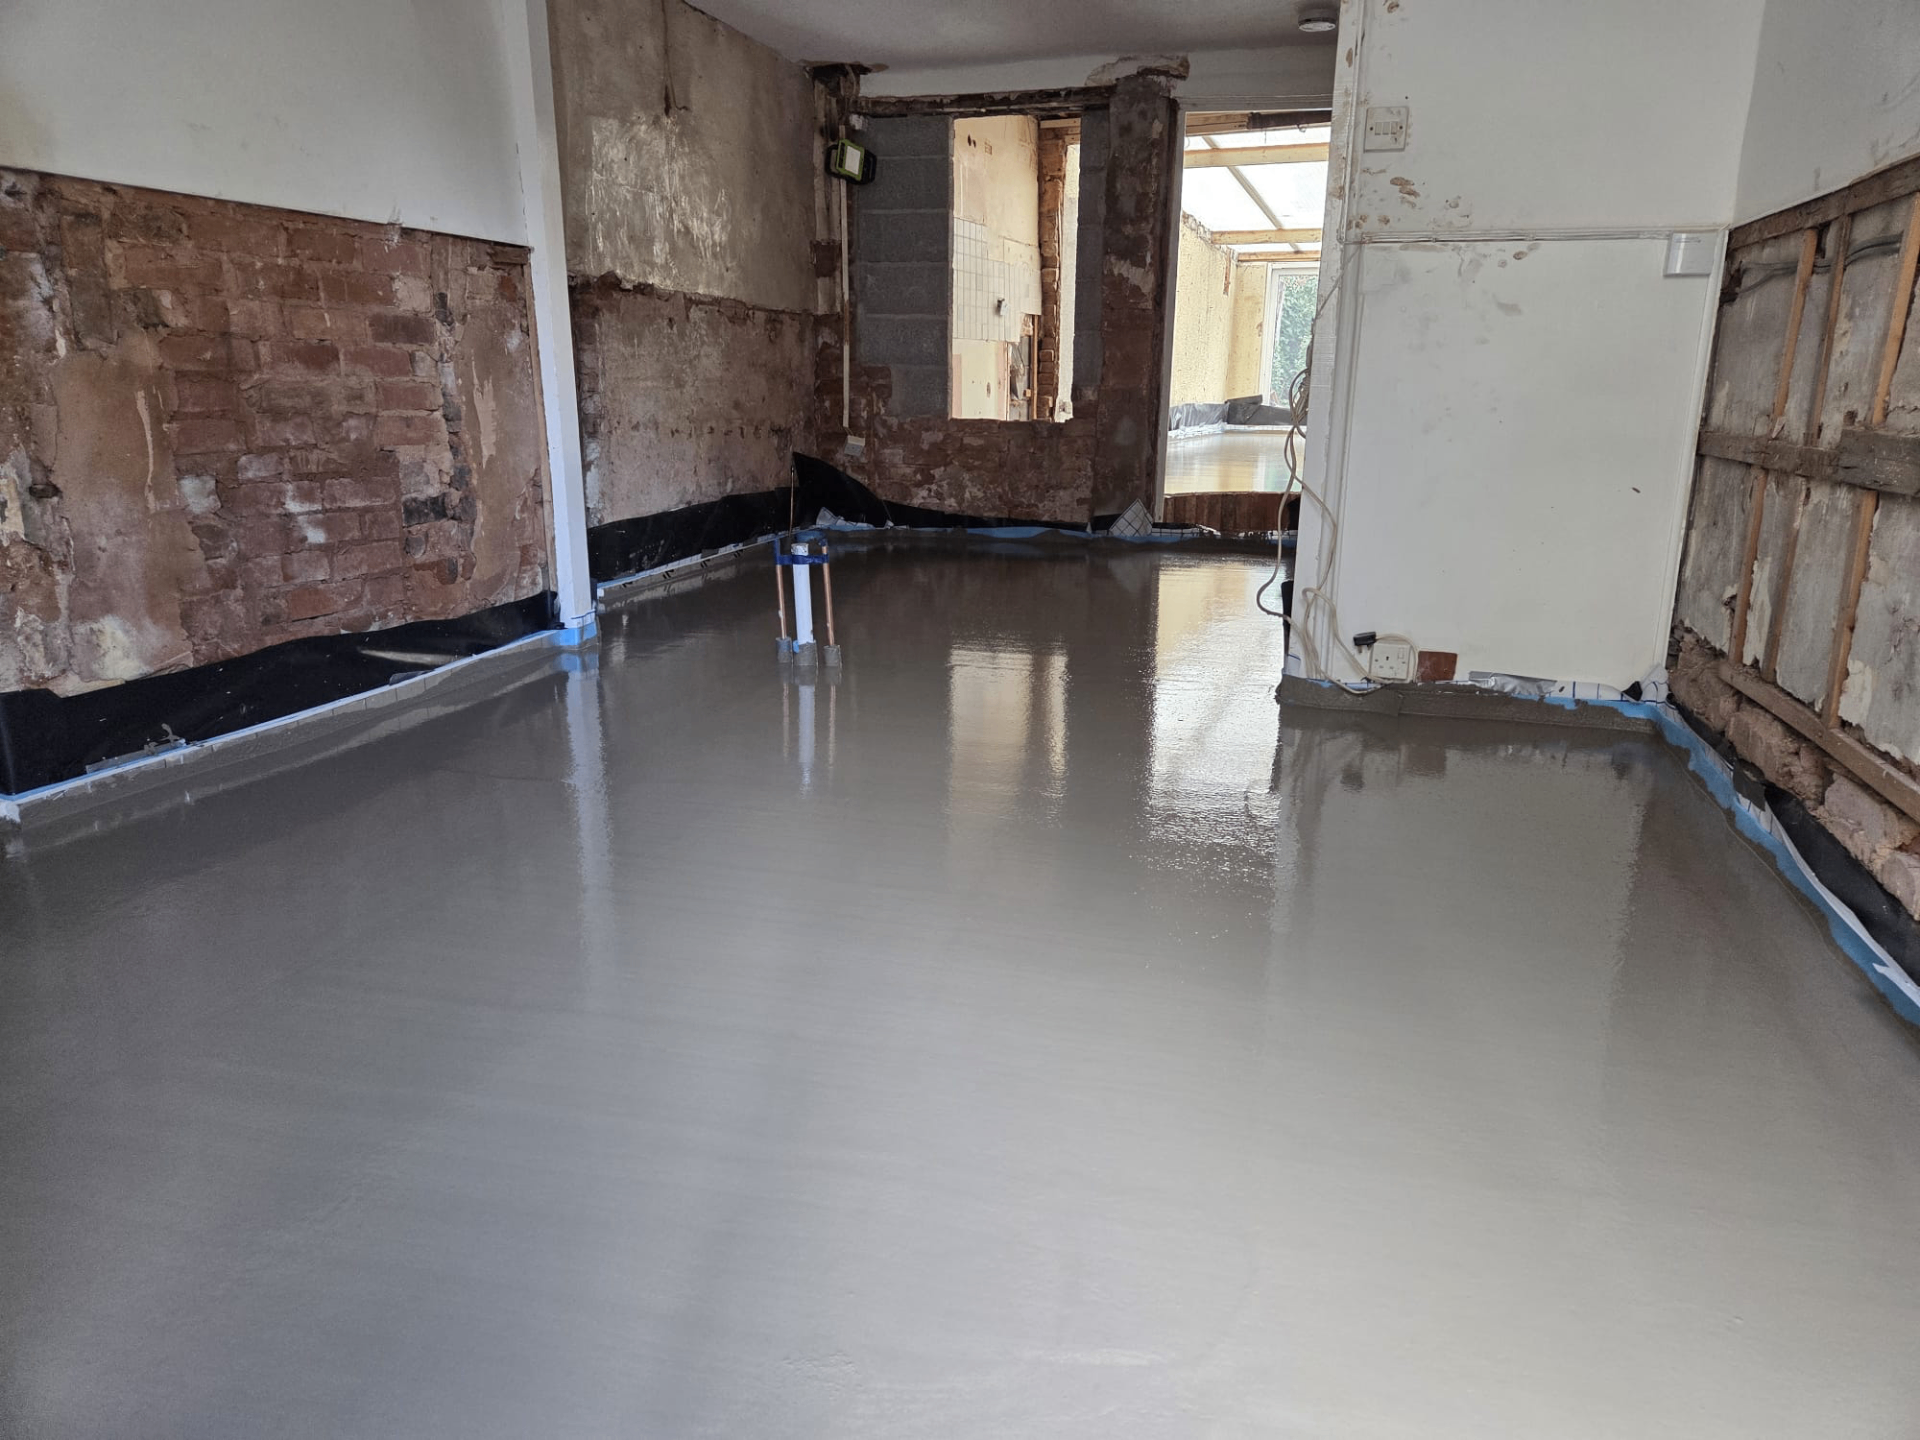
Grade matters more than thickness alone
Standard P4 chipboard is fine for dry, low-moisture flooring applications, but a liquid screed pour introduces mix water above the deck, even with a membrane in place, and there's usually some ambient moisture during construction before the building is fully weathertight. P5 boards are manufactured to resist this better than P4, which is why they're the usual specification, though the separating membrane is still essential — it isn't a substitute for the right grade of board.
Fixing and jointing
Loose or poorly glued tongue-and-groove joints are one of the more common causes of a bouncy or squeaky timber deck, and that bounce transfers straight into the cured screed as micro-cracking over time. Boards should be glued at the joints and screwed at manufacturer-recommended centres into solid joist timber, with staggered joints across the floor rather than all lining up over the same joist.
Screws are generally preferred over nails for this application because they resist withdrawal better as the deck is loaded and unloaded over time, and a consistent screw pattern into every joist — rather than just the board edges — keeps the whole panel acting as one stiff surface rather than flexing between fixing points.
Conditioning and moisture before fixing
Chipboard absorbs and releases moisture more readily than plywood, and boards delivered to site can expand slightly if fixed immediately without allowing them to acclimatise to the building's internal conditions. Standing boards flat, in the rooms where they'll be fixed, for a short period before installation reduces the risk of them expanding after fixing and causing peaking at the joints.
Where a building isn't yet weathertight, or humidity levels are running high from other wet trades, it's worth delaying chipboard fixing until conditions are more stable rather than risk laying boards that will move once the roof and windows are complete.
Working around penetrations and underfloor heating
Where underfloor heating pipe is fixed to the deck using staple or clip systems designed for chipboard, following the specific fixing system's guidance matters, since excessive stapling or grooving into the board can reduce its structural capacity in that area. Any cut-outs for pipework or cabling should be kept to the minimum necessary and reinforced or supported where they fall close to a board edge.
As with any deck, the separating membrane above the chipboard is where joints are taped to control grout loss — the chipboard's own joints rely on glue and mechanical fixing rather than tape.
In short
P5 moisture-resistant chipboard is a common deck under liquid screed on timber floors, but it needs the right grade, fixings and taped joints.
Installing or inheriting a chipboard deck before screeding?
We can check the deck specification and fixing before your pour date and flag anything that needs addressing first.
Or call our landline on 01392 237700
Chipboard Decking — your questions
Installing or inheriting a chipboard deck before screeding?
We can check the deck specification and fixing before your pour date and flag anything that needs addressing first.