
Screed Systems
How Flowing Liquid Screed Actually Works
An explanation of the flowing screed process from batching through to the finished, self-levelled surface ready for flooring.
Flowing screed — sometimes called liquid or self-levelling screed — is batched either on a mobile mixing lorry or in a factory-controlled plant, then pumped directly into the building through hoses rather than barrowed and hand-trowelled like traditional sand-cement screed. The result is a fluid material that self-levels close to a laser-set datum, reducing the manual raking needed to achieve a flat floor.
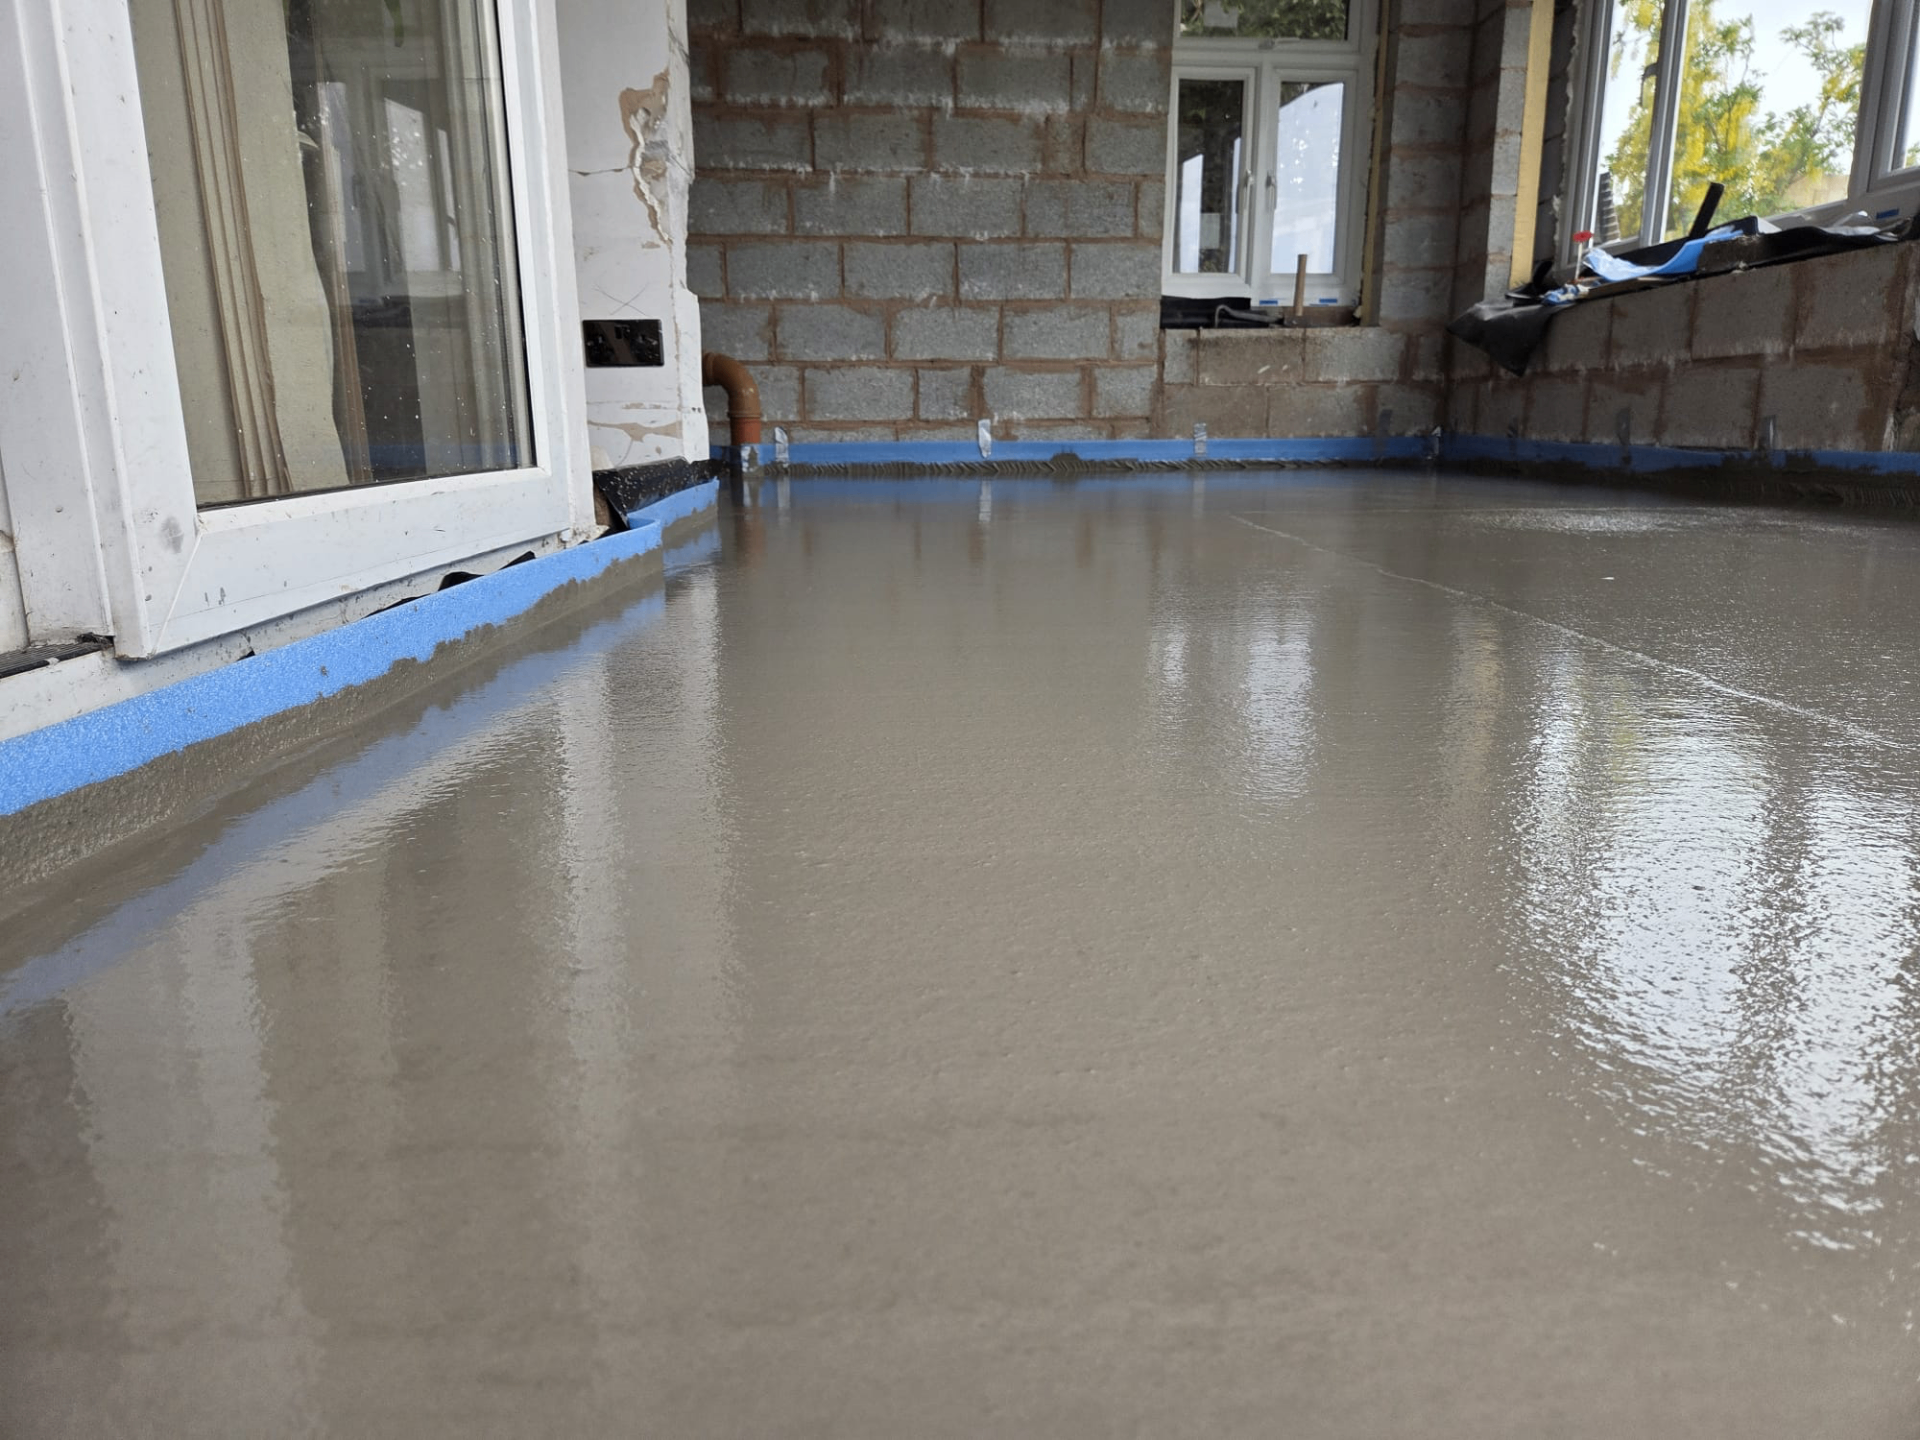
On site, the process typically involves setting level pins or a laser reference, running edge insulation strips around the perimeter, laying a separating membrane or bonding primer as appropriate to the build-up, then pumping the screed and lightly working it with a dappling bar to release trapped air and settle fines.
Understanding the sequence helps when planning access, protecting the poured area and coordinating with other trades — flowing screed needs a clear, closed-off area for the pour and an undisturbed period afterwards while it takes its initial set, followed by a controlled drying period before flooring can be fixed.
Flowing Screed Explained — the points that decide it
- Mixed to a fluid consistency and pumped through hose lines rather than barrowed
- Self-levels to a laser-set datum, reducing hand-finishing compared with traditional screed
- Perimeter edge insulation strip accommodates thermal movement
- A dappling bar or spiked roller helps release air and settle the surface
- Access is normally required for pump hoses to reach the pour area directly
- Foot traffic is typically restricted for a short period after pouring — confirm timing on site
- Suitable for both cementitious and calcium sulphate formulations
- Consistency is checked before pumping, often with a flow-ring test on site
- Doorways and openings are dammed to contain the pour to the intended zone
From delivery to poured floor
Material typically arrives ready-mixed on a screed lorry with its own pump, or is mixed on-site from bagged or silo-stored components depending on the supplier and job size. The crew checks consistency (often with a flow-ring test) before pumping begins, since consistency affects both flow across the floor and final strength.
Hoses run from the lorry or pump into the property, and the screed is discharged in a controlled sequence working away from the exit point so the crew isn't trapped in the pour. Screed rakes and a dappling bar are used to spread material into corners and against upstands where it won't reach purely by gravity.
Site preparation that makes it work
Before any screed arrives, the substrate needs to be checked for level, cleaned of debris, and fitted with edge insulation and a suitable membrane or primer. Poor preparation is one of the most common causes of problems after the pour, so this stage is worth the time it takes.
Doorways and openings are usually dammed off to contain the pour to the intended room or zone, and any pipework or underfloor heating loops are pressure-tested and secured before covering. Once poured, the area is generally left undisturbed while the screed cures.
Pumping distance and access planning
Because the material travels through hose lines rather than being carried by hand, access for the pump lorry and hose run needs planning before the day of the pour — long or awkward hose runs, upper floors or restricted parking can all affect how the job is sequenced and how many pump stages are needed.
On larger or multi-storey jobs, hoses may need to be relayed in stages, and it's worth confirming with your screeder how the pump route will pass through the building, and what protection is needed for finished areas the hose passes through.
After the pour: curing and early protection
Once poured, flowing screed needs a settling and initial curing period free from foot traffic, draughts and direct heat, since uneven drying in the first days can encourage surface cracking or curling at edges. Windows and doors are often kept closed initially, then ventilation is introduced in a controlled way as the drying programme begins.
Protection boards are commonly laid once the surface can take light traffic, to prevent following trades marking or contaminating the screed before flooring is fitted. Any damage at this stage is far easier to prevent than to repair later.
Want to see flowing screed suit your project?
Get in touch with Exeter Liquid Screeders for a site visit and a clear plan for access, pour sequencing and finish.
Or call our landline on 01392 237700
Flowing Screed Explained — your questions
In short
An explanation of the flowing screed process from batching through to the finished, self-levelled surface ready for flooring.
Want to see flowing screed suit your project?
Get in touch with Exeter Liquid Screeders for a site visit and a clear plan for access, pour sequencing and finish.