
Substrates & Preparation
Temperature and Ventilation Control During Screed Curing
Liquid screed cures best in stable, moderate temperatures with controlled ventilation, rather than being forced dry with excessive heat or draughts.
Need advice on managing temperature around your screed pour?
We can talk through heating, ventilation and shading considerations for your specific building across Exeter and the South West.
Or call our landline on 01392 237700
The temperature and airflow across a liquid screed while it cures has a real effect on how evenly it dries and how it performs afterwards. Curing too fast, particularly in strong direct sun, high heat or a draughty space, can cause the surface to dry before the body of the screed, increasing the risk of shrinkage cracking or curling edges.
This isn't about extending or shortening any specific drying period — it's about giving the screed stable, predictable conditions so it cures evenly across the whole floor rather than in patches. A floor that dries unevenly can look fully cured on the surface while still holding significant moisture underneath, which only becomes apparent once a floor finish is laid.
Site conditions vary enormously between a sealed, part-heated new build and a draughty shell with open apertures, which is why temperature and ventilation control has to be considered for the specific building rather than applied as a generic rule of thumb.
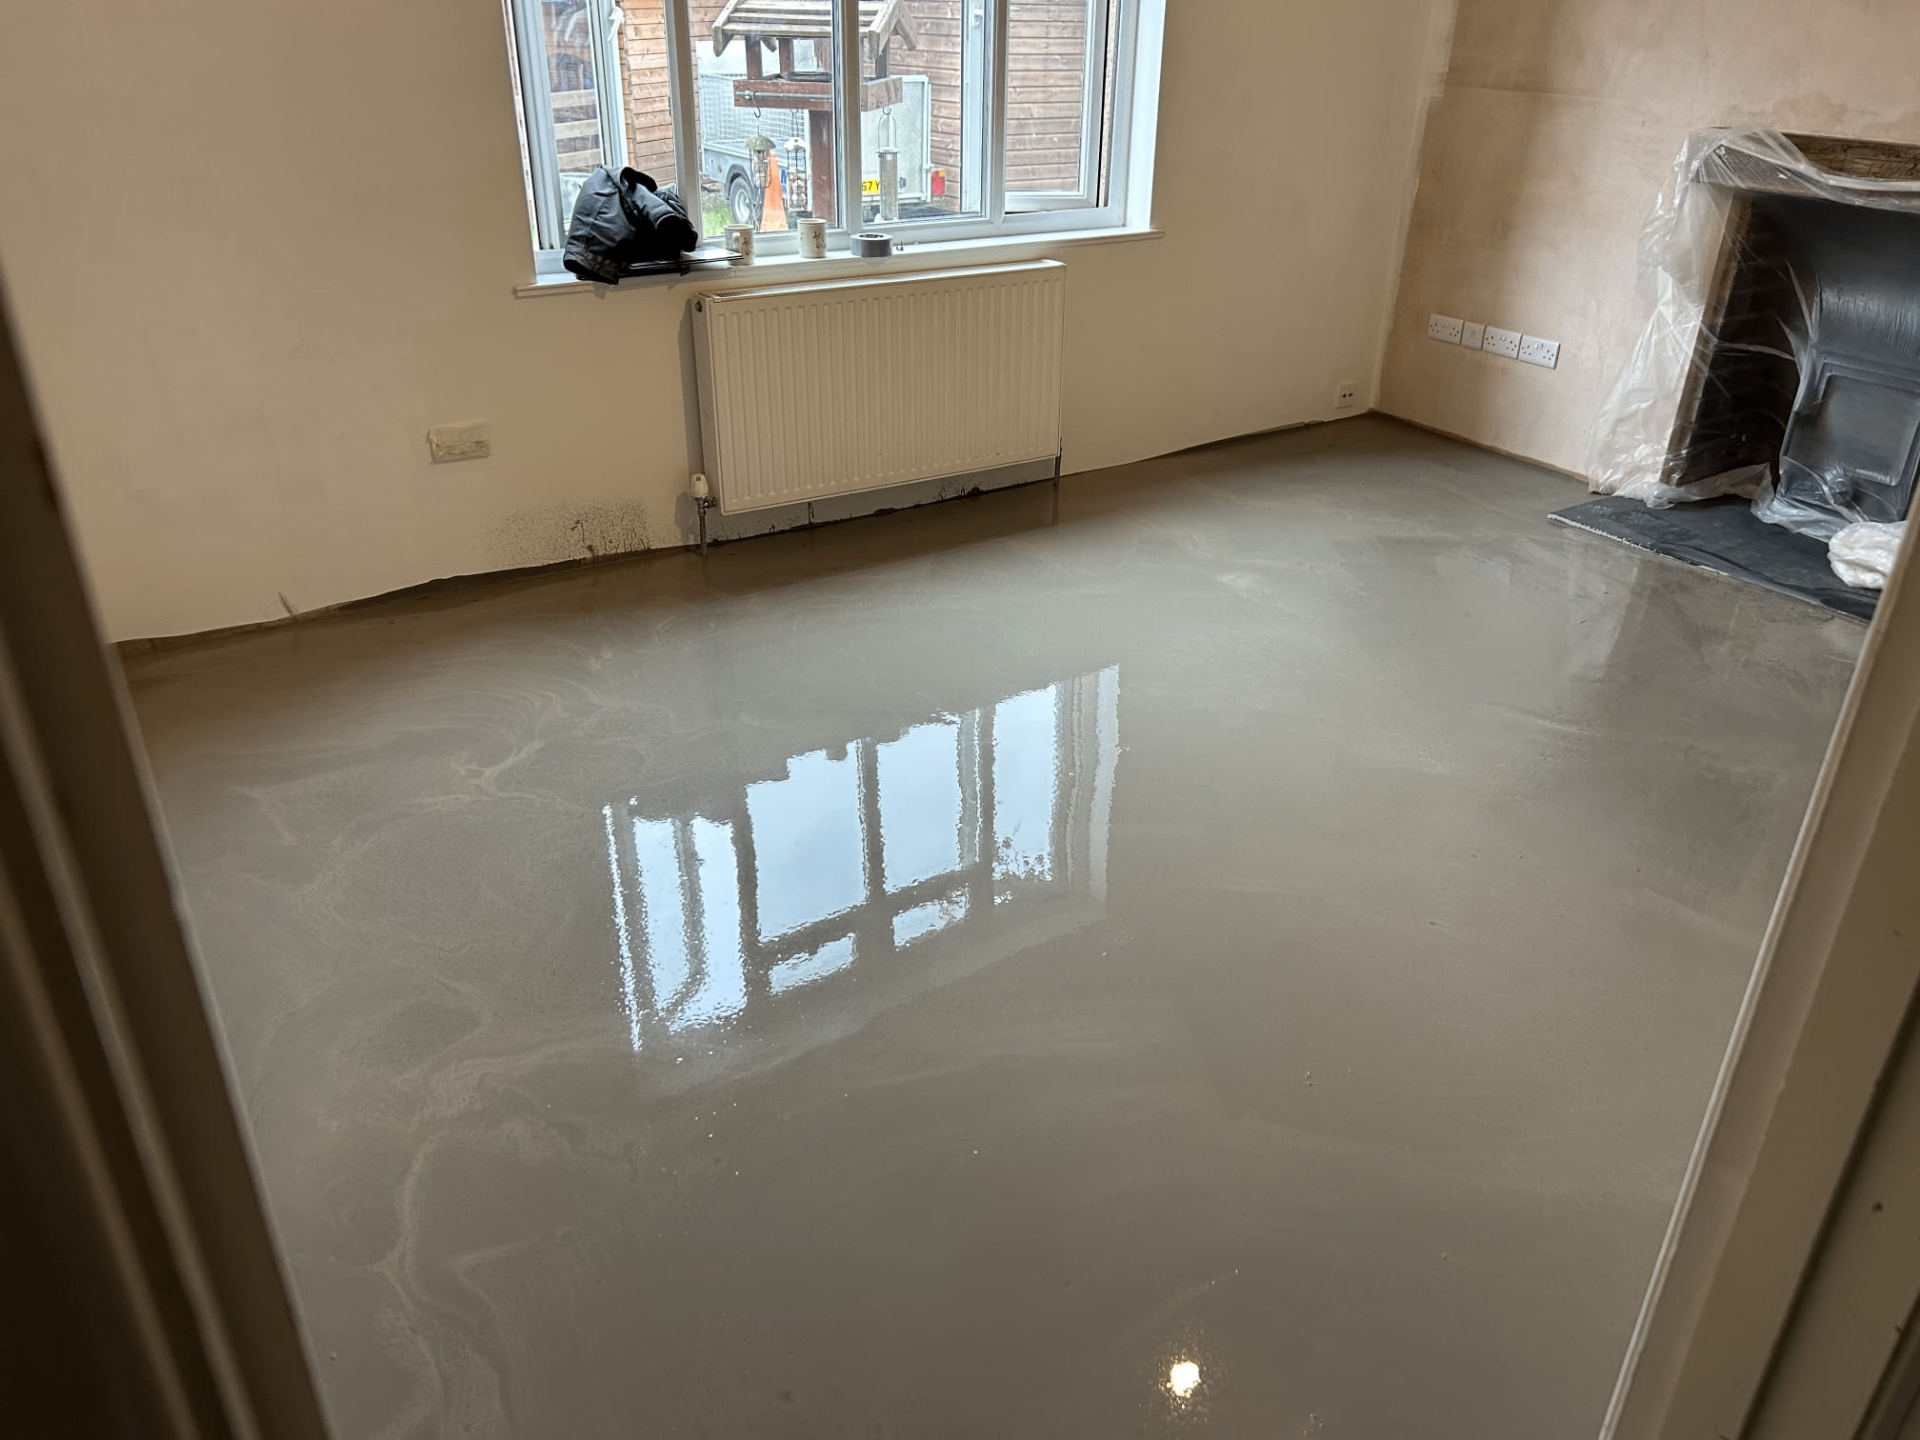
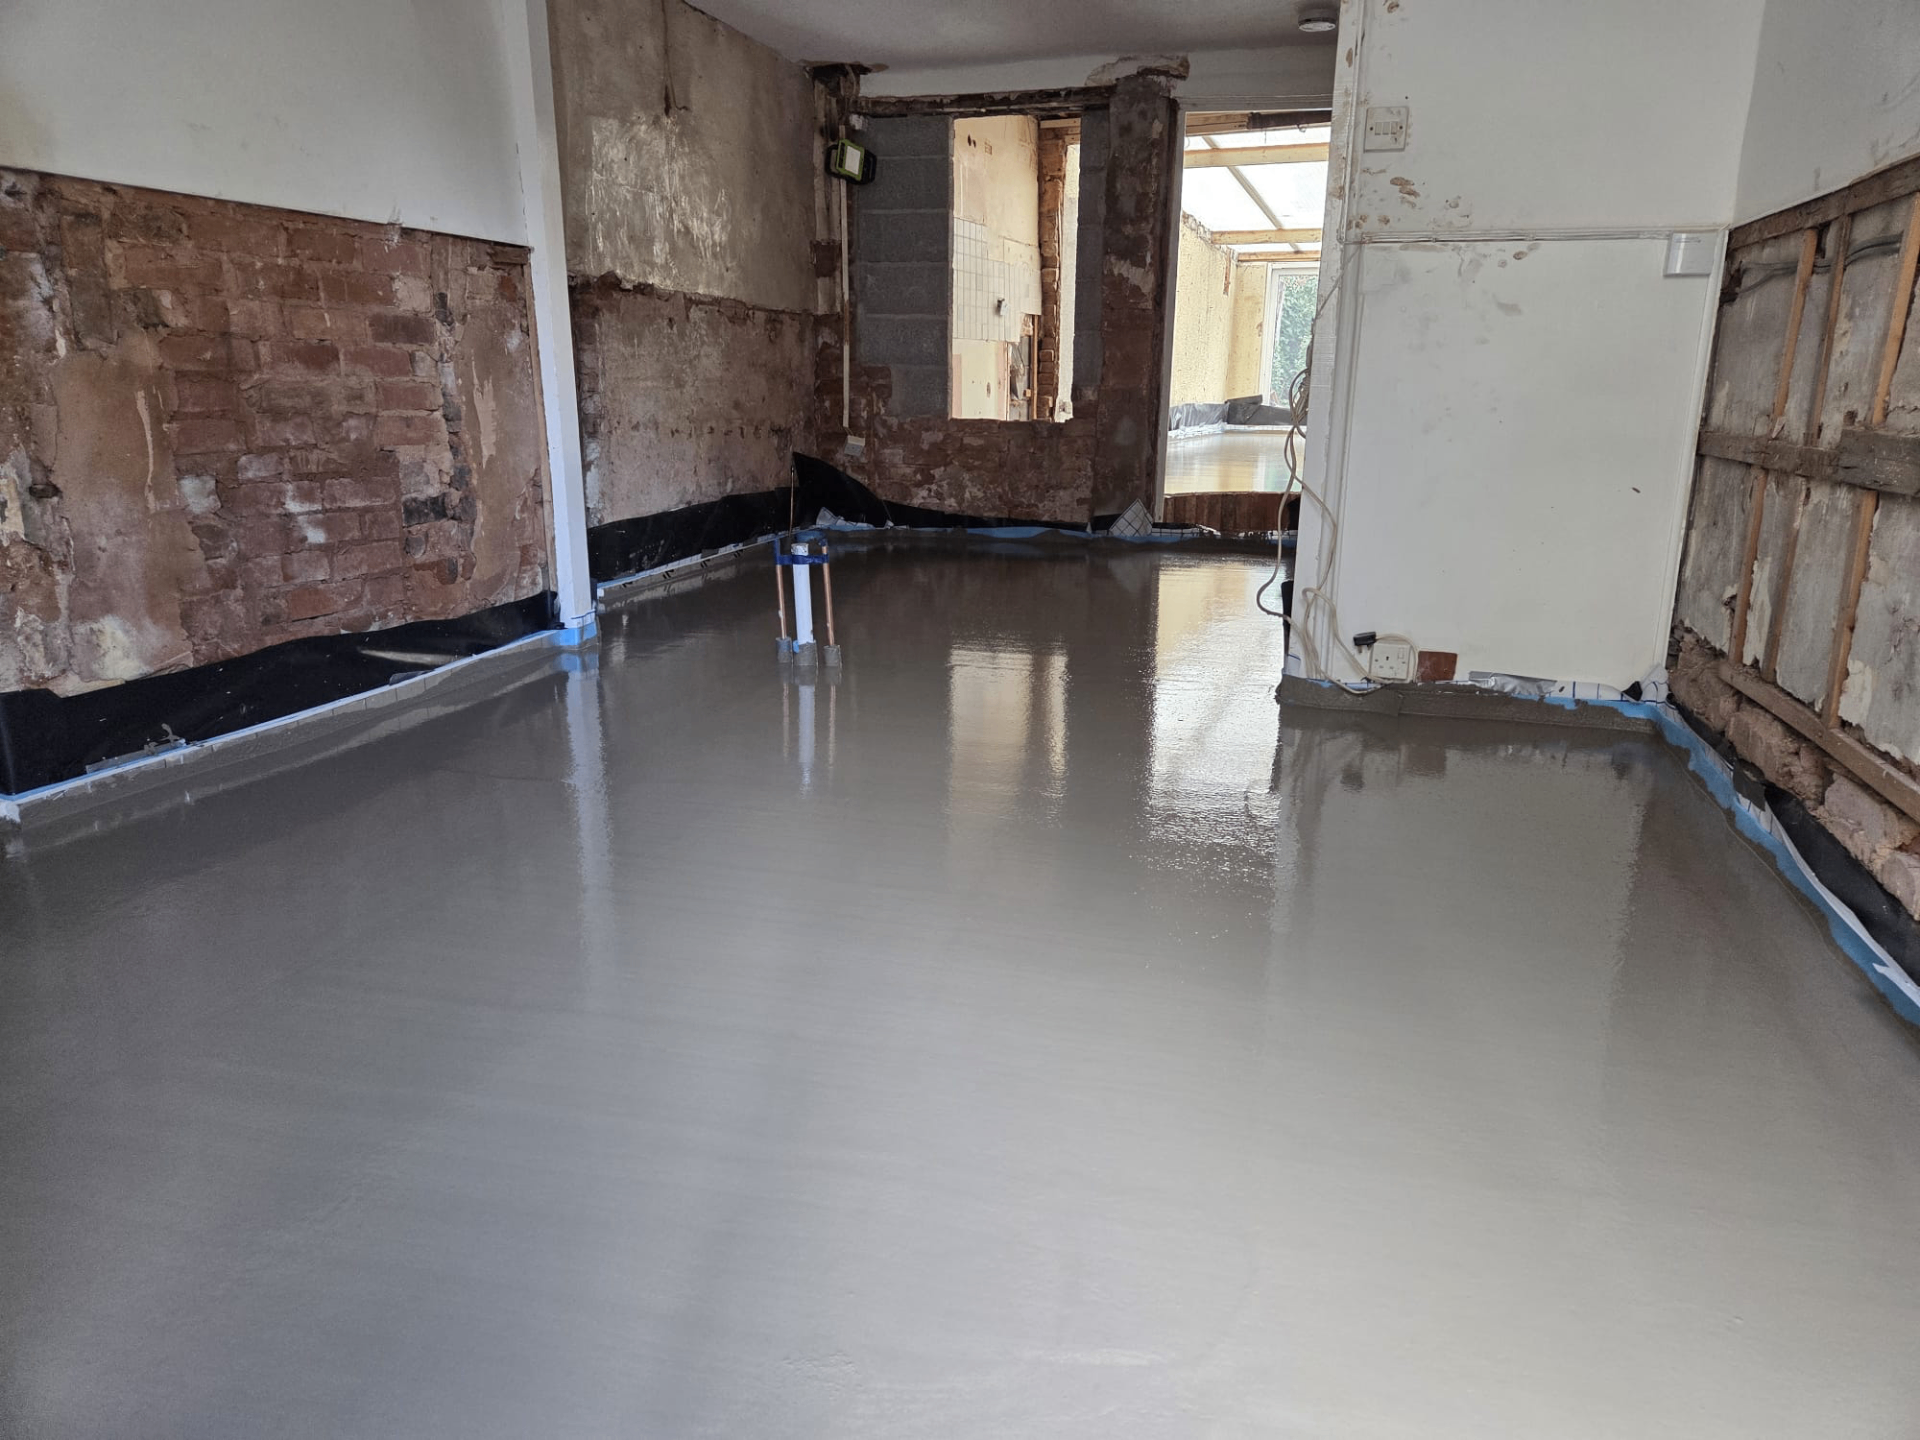
Temperature & Ventilation Control — the points that decide it
- Rapid, uneven drying from direct heat sources or strong draughts is generally more of a risk to a fresh screed than a cool, still environment
- Space heaters and dehumidifiers should be positioned and timed according to the screed manufacturer's guidance rather than run at full output immediately after the pour
- Underfloor heating systems, where present, are usually left off for a period before being brought up gradually under the manufacturer's protocol
- Direct sunlight through large glazed areas can dry a screed unevenly across the floor plate and may need temporary shading
- Extreme cold can slow curing significantly and, in unheated buildings over winter, may need to be factored into the wider programme
- Good general ventilation — without strong draughts directly across the surface — supports steady moisture release once initial curing has taken place
- Localised hot or cold spots, such as near a single running heater or a persistently open door, tend to produce uneven results across an otherwise similar floor
- Monitoring conditions over the first few days after the pour, rather than only on the day itself, catches problems that develop gradually rather than immediately
Balancing airflow and even drying
Some air movement across a curing screed is helpful for releasing moisture, but there's a real difference between a gentle, general air change and a concentrated draught from an open door or a fan pointed directly at the floor. The latter tends to dry the surface faster than the body of the screed beneath it, which is a common cause of surface cracking that isn't related to the mix itself.
Where mechanical ventilation or drying equipment is used on site, it's worth checking with the screed contractor how and when it should be introduced, since running it too early or too aggressively can work against even curing rather than support it.
Managing temperature swings
Buildings under construction, especially those without permanent heating running yet, can see large temperature swings between day and night, particularly in winter and early spring. These swings affect how consistently a screed cures across the depth of the floor. Keeping the space as stable as practically possible — rather than alternating between unheated overnight and intense heater use during the day — tends to give steadier results.
Where a building has zones with very different exposure, such as a south-facing glazed extension next to a shaded, north-facing room, it's worth expecting some variation in curing speed between the two and planning moisture checks accordingly rather than treating the floor as a single uniform area.
Positioning heaters and dehumidifiers correctly
Where drying equipment is used to support the wider building programme, its position relative to the screed matters as much as its output. A dehumidifier or heater placed close to one area of floor, rather than distributed to give a more even effect across the space, can create a locally dry patch while the rest of the floor lags behind, complicating later moisture readings.
Rotating equipment between areas, or using several lower-output units instead of one running hard in a single spot, generally gives a more even result across a larger floor plate.
What to watch for in the days after the pour
The first few days after a pour are when the screed is most sensitive to its environment, even though the surface may already look firm enough to walk on carefully. Checking that heating, ventilation and any temporary shading are still working as intended — rather than assuming the initial setup will hold — helps catch a failed heater or a door left open before it affects the whole floor.
This short period of attention is a small addition to the wider site routine but tends to be the difference between a floor that cures evenly and one that later shows patchy moisture readings or surface cracking traced back to the first few days.
Temperature & Ventilation Control — your questions
Need advice on managing temperature around your screed pour?
We can talk through heating, ventilation and shading considerations for your specific building across Exeter and the South West.
Or call our landline on 01392 237700
In short
Liquid screed cures best in stable, moderate temperatures with controlled ventilation, rather than being forced dry with excessive heat or draughts.
Need advice on managing temperature around your screed pour?
We can talk through heating, ventilation and shading considerations for your specific building across Exeter and the South West.