
Handover to flooring
Preparing a liquid screed floor for its final covering
A summary of the practical steps that usually sit between confirming a screed is dry and the flooring installer actually starting work.
There's a gap between 'the screed is dry' and 'the floor is ready for covering', filled by testing, inspection and sometimes surface preparation, all of which take time and should be allowed for in the overall build programme. Treating drying as the final step, with nothing left to do afterwards, is a common misconception.
Skipping or rushing this stage is a common cause of flooring problems that only become apparent after installation — adhesive failure, discolouration or debonding that traces back to moisture, contamination or unevenness that wasn't picked up beforehand. These issues are far more disruptive and costly to fix once flooring is down than they would have been to catch beforehand.
This is a general summary of the steps involved; the specific tests, tolerances and preparation required will always depend on the screed type and the flooring or adhesive system being installed, so this stage benefits from close coordination between the screed installer and flooring contractor.
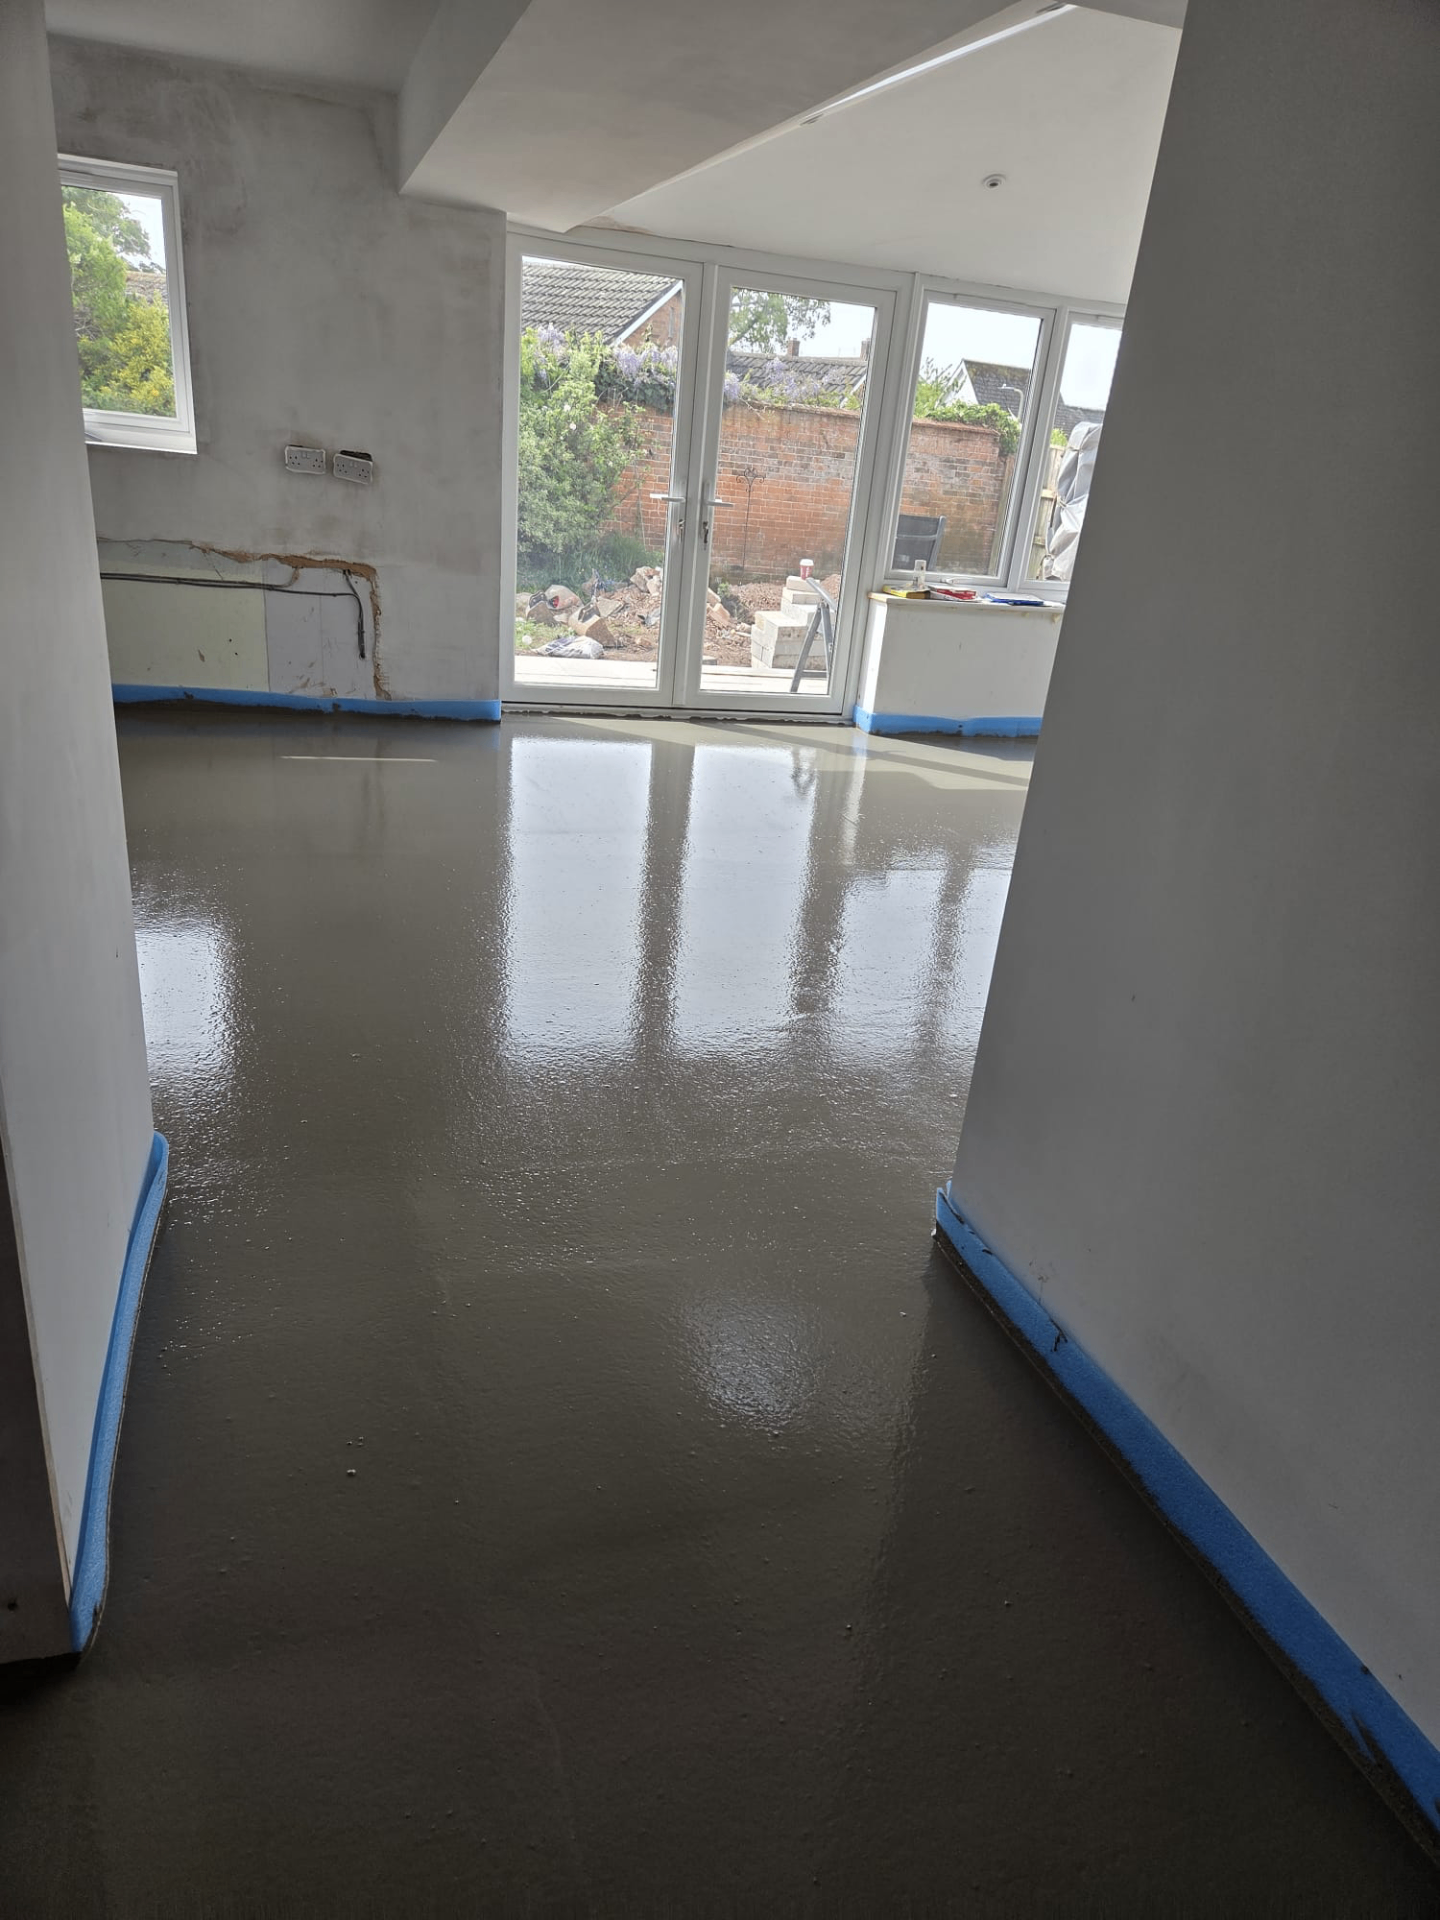
Preparing a screed for coverings — the points that decide it
- Moisture testing appropriate to the intended flooring is carried out and results checked against the relevant threshold.
- The surface is inspected for laitance, contamination, cracking or unevenness that could affect the flooring installation.
- Any repairs, patching or laitance treatment identified as necessary are carried out and allowed to cure before flooring begins.
- Flatness and level are checked against the tolerance required for the specific floor covering, which varies by material.
- Handover information, such as depth, screed type and any known features (movement joints, UFH), is passed to the flooring installer.
- A final walk-round with the flooring installer, where practical, helps confirm expectations are aligned before work starts.
- Any protection boards or coverings used during earlier trades' work are removed and the surface cleaned before inspection.
- Movement joint locations are re-confirmed to the flooring installer so joints in the covering can be aligned appropriately.
- Any remaining site debris, dust or residue from earlier works is cleared before flooring work is scheduled to start.
Why flatness tolerance depends on the covering
Large-format tiles and thin resilient coverings such as LVT are generally less forgiving of minor unevenness than carpet, so the acceptable flatness tolerance should be checked against the specific flooring being used rather than assumed to be a single standard.
Where a floor doesn't meet the required tolerance for the intended covering, a levelling compound or further preparation may be needed, which is best identified during this stage rather than once the flooring installer has already started work.
Passing on the right information
Flooring installers benefit from knowing the screed type, depth, and the location of any movement joints or underfloor heating pipework, since these can affect fixing methods, adhesive choice and where joints in the new floor covering should align.
Where records were kept during the pour, such as photographs of underfloor heating loops before covering, these are a useful reference to pass on at this stage so the flooring installer knows where not to drill or fix into the floor.
Inspecting for issues before flooring begins
A methodical inspection of the whole floor, rather than a quick glance, is more likely to catch localised issues such as cracking near doorways, residual contamination from other trades, or areas where protection boards have trapped moisture against the surface.
Any issues found at this stage are generally easier and cheaper to address than once flooring has been installed over the top, so time spent on a thorough inspection is usually worthwhile even where the floor looks broadly ready.
Coordinating the handover meeting
A short walk-round with both the screed installer and flooring installer present, where practical, allows any questions about the floor's history or known features to be answered directly rather than relying solely on written notes.
This meeting is also a useful point to confirm final moisture readings, agree who holds responsibility for the floor from that point onward, and flag anything the flooring installer should be aware of before starting.
Preparing a screed for coverings — your questions
Getting ready to hand over to your flooring installer?
We can provide the information your flooring installer needs to plan their work with confidence.
Or call our landline on 01392 237700
In short
A summary of the practical steps that usually sit between confirming a screed is dry and the flooring installer actually starting work.
Getting ready to hand over to your flooring installer?
We can provide the information your flooring installer needs to plan their work with confidence.