
Fault diagnosis
Testing a Suspect Screed Floor: Methods & Sequence
Investigating a suspect screed floor works best as a structured sequence, from visual and sounding survey through to moisture and core testing.
Need a suspect screed floor investigated properly?
We can carry out a structured survey and testing programme and provide clear findings on the cause of the problem. Call 07791 510849.
Or call our landline on 01392 237700
When a screed floor is showing symptoms, whether cracking, damp patches, hollow sounds under a floor covering, or a covering that has failed, jumping straight to invasive testing without a structured approach can waste time and miss the actual cause. A logical sequence, starting with the least invasive checks and moving to more targeted ones, gives a clearer and more defensible picture, particularly if the findings may need to support a dispute or insurance claim.
The right combination of tests depends on the symptoms observed, but most investigations benefit from starting with documentary review (specification, drying records, moisture test history) before moving to physical testing on site.
Where a dispute is likely, following a recognised testing standard and keeping a clear record of methodology and results, ideally by an independent party, strengthens the evidential value of the findings considerably.
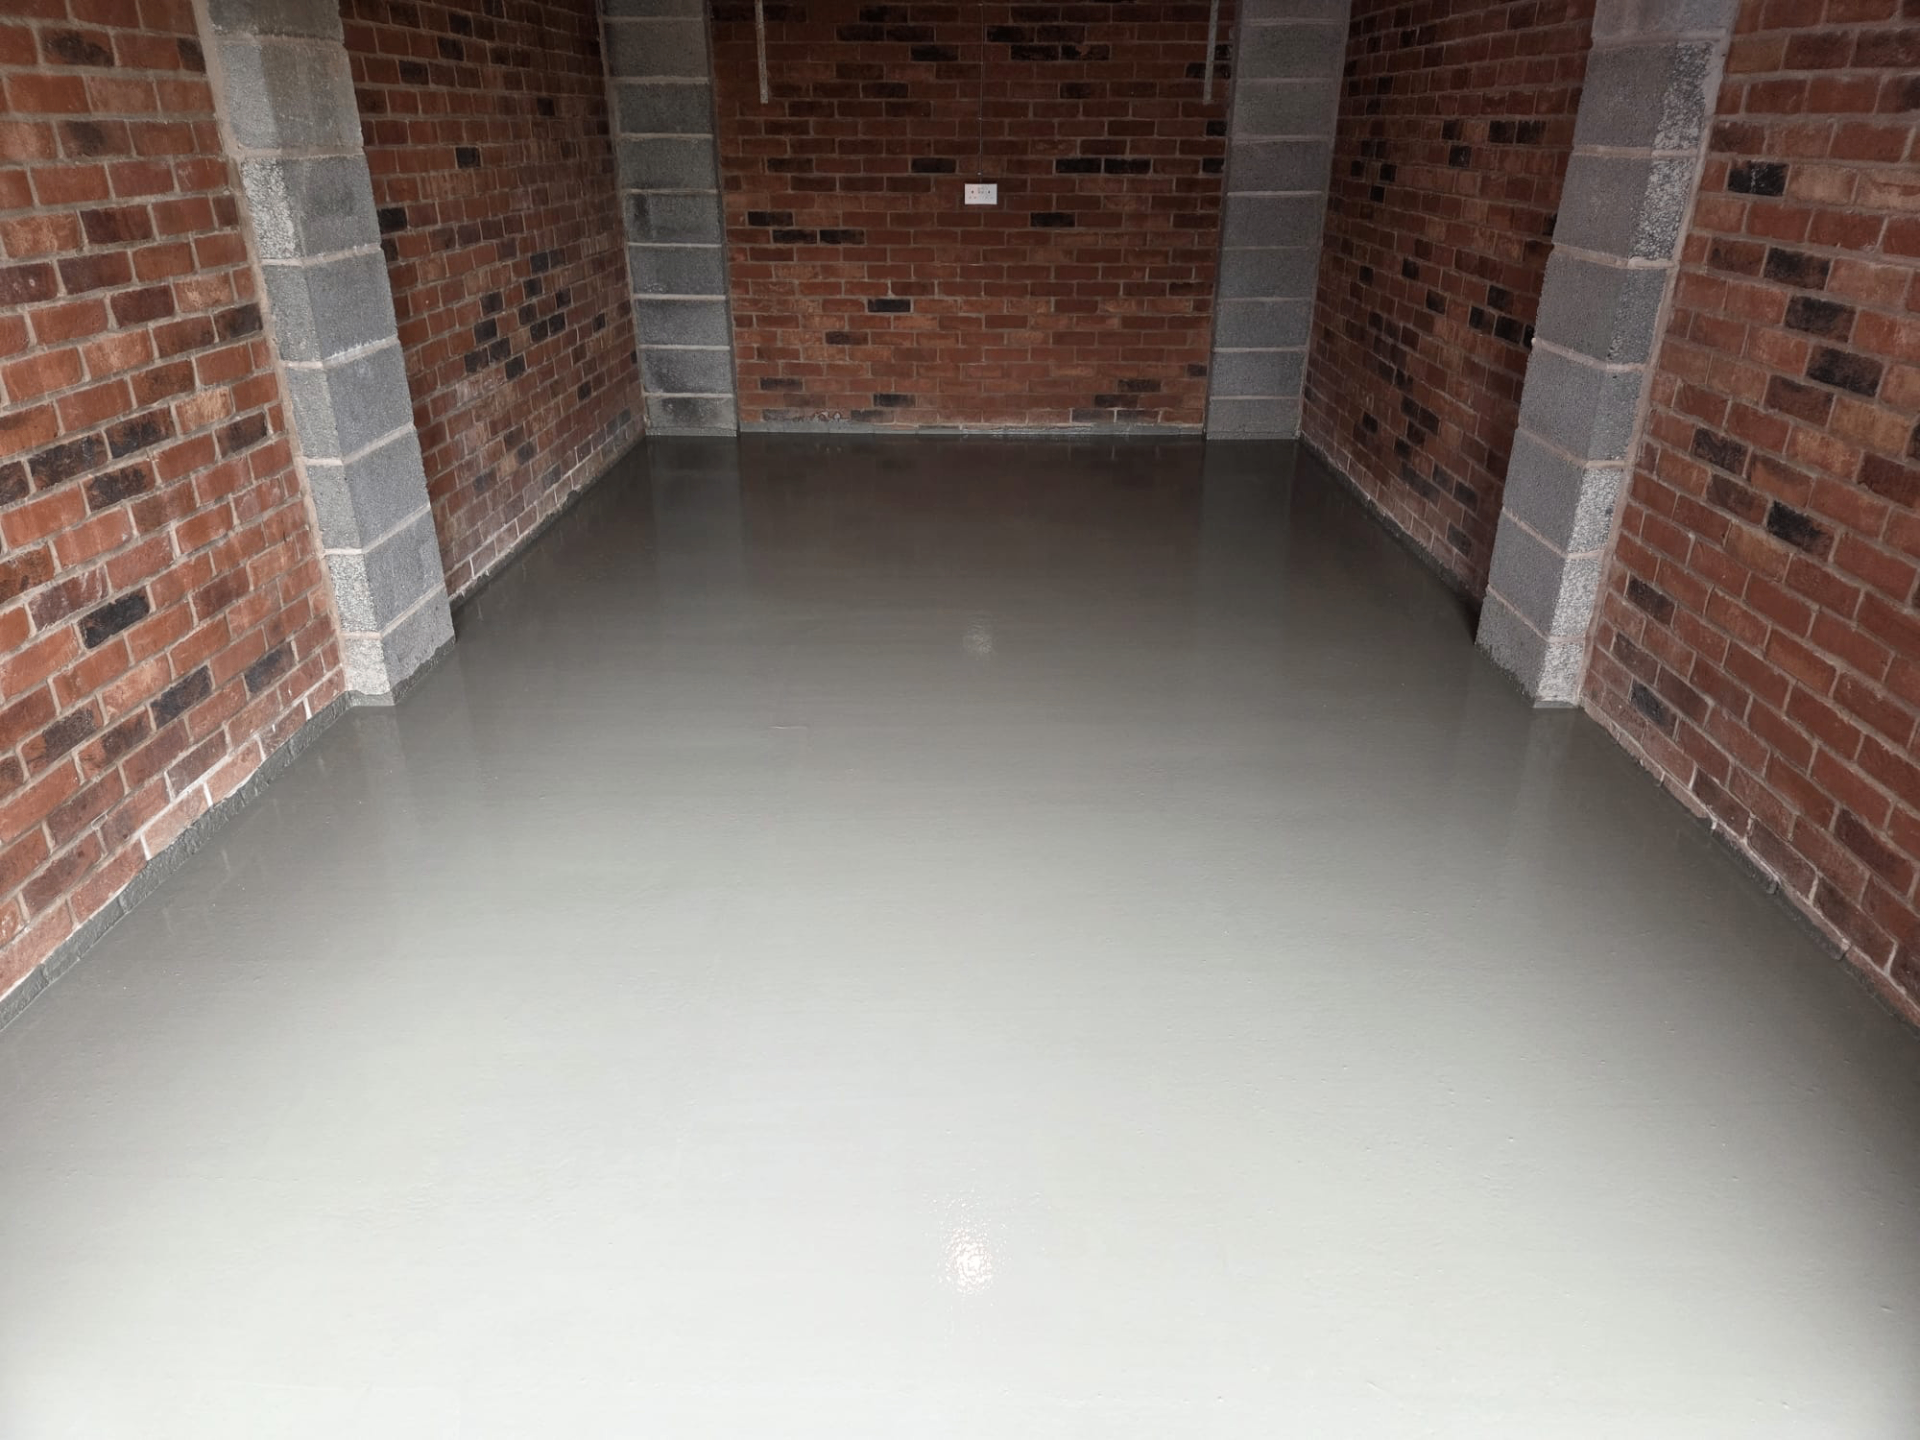
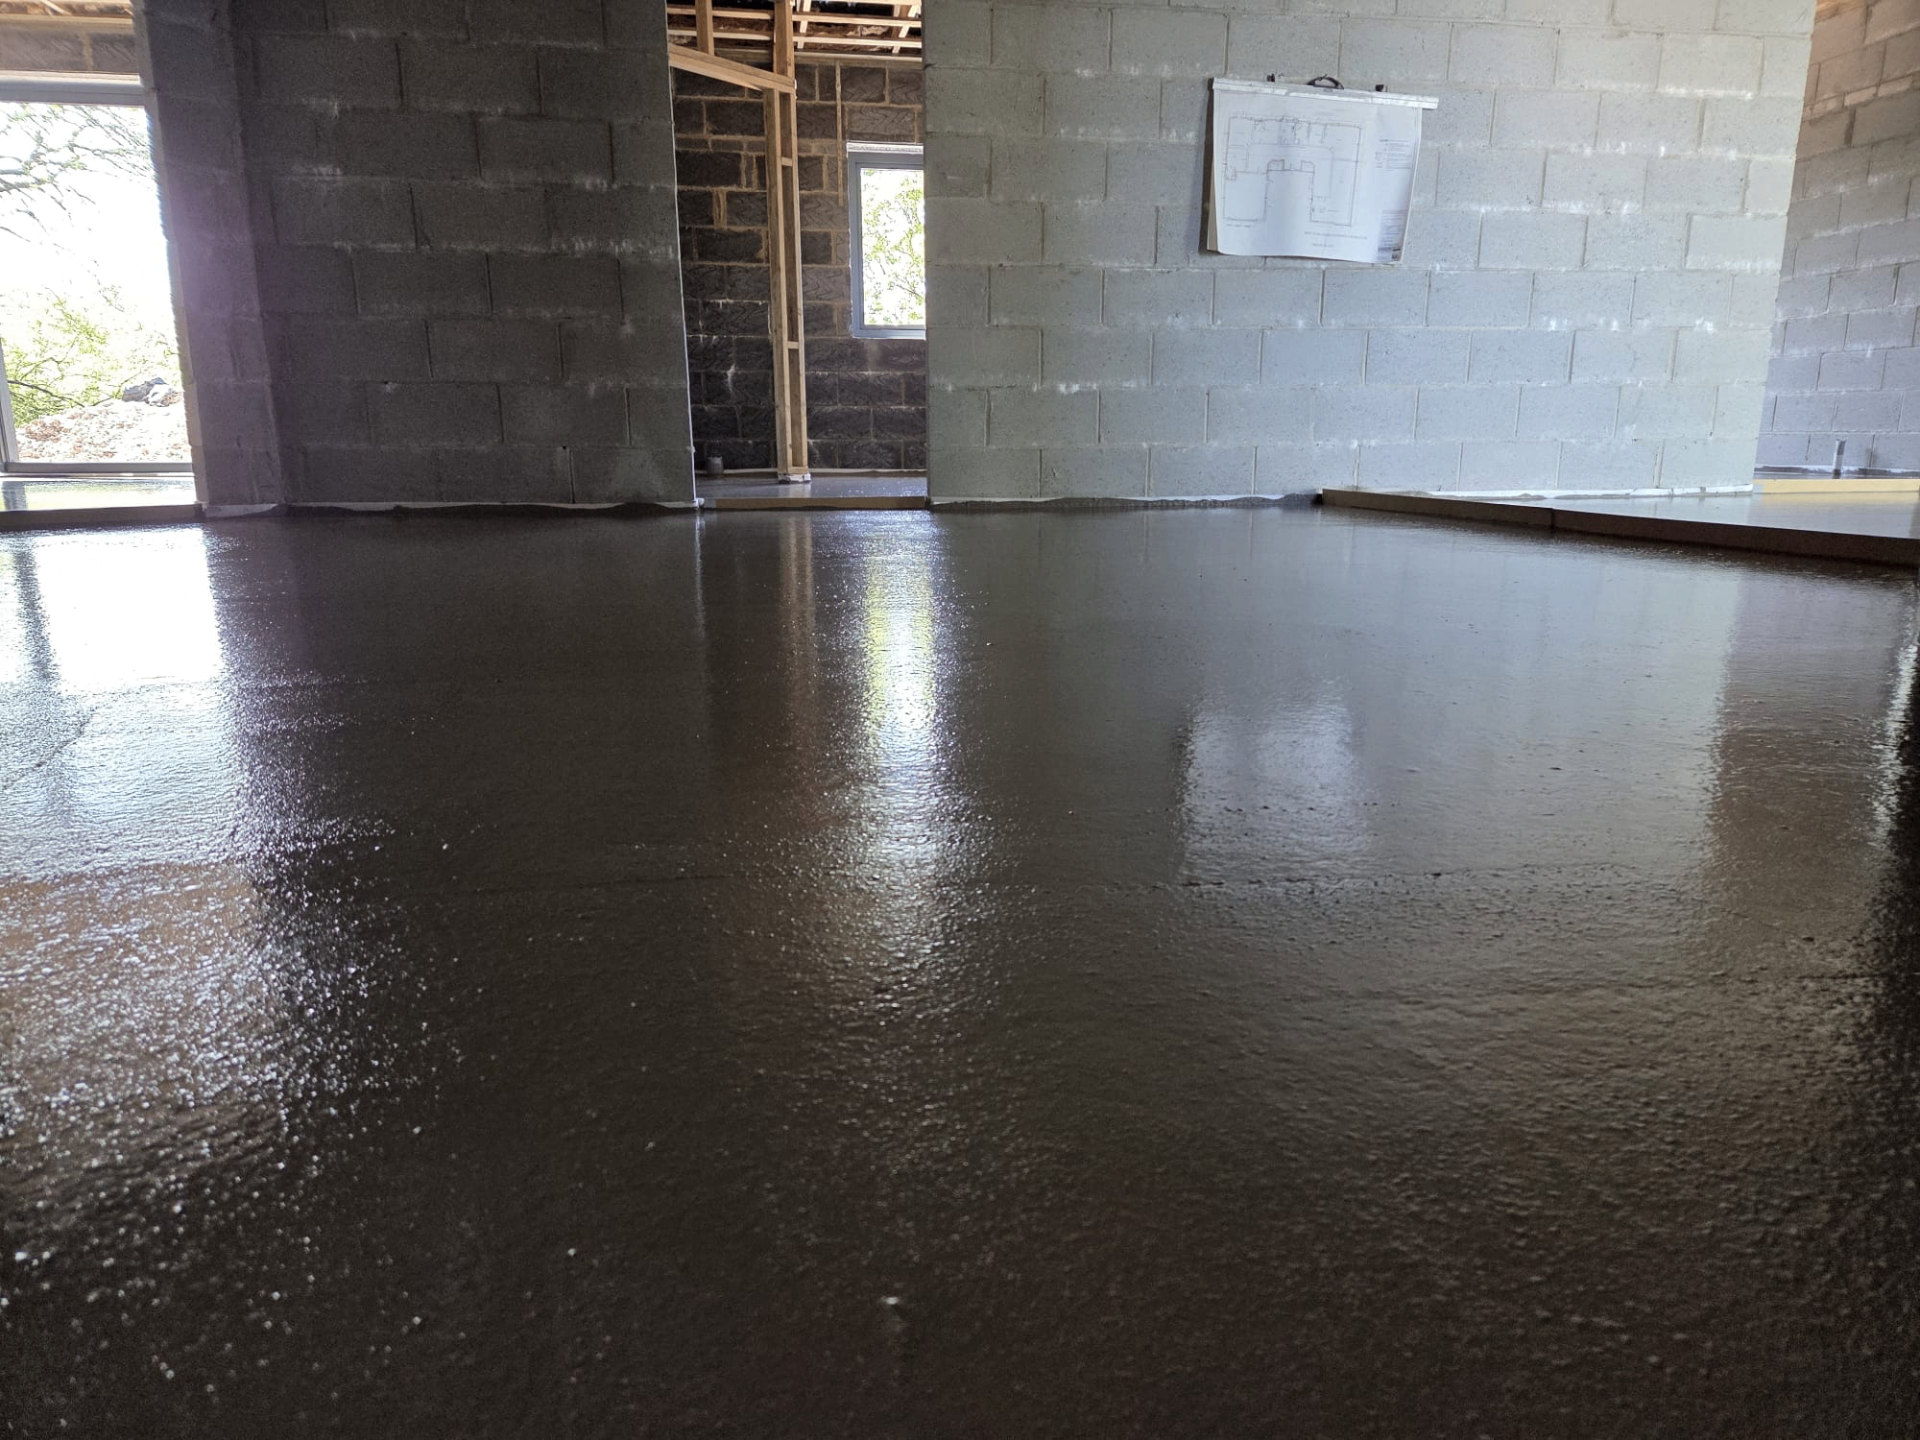
Building the investigation sequence
A typical sequence starts with gathering whatever specification and installation records exist, since these frame what should have happened. A visual inspection and sounding survey then identifies the extent and pattern of any visible symptoms, hollow areas or cracking. From there, targeted tests, moisture readings, core samples, or surface strength testing, are chosen to answer the specific questions the visual survey has raised.
It's important that each test is chosen because it answers a question relevant to the symptom observed, rather than running every available test regardless of relevance, which adds cost and disruption without necessarily adding useful evidence.
Matching test methods to the symptom
Where the primary symptom is a floor covering that has failed or feels damp, an RH probe test to BS 8203, sealed and read after the appropriate equilibration period, is generally the priority test, since moisture is the most common underlying cause in that scenario. Where the symptom is hollow-sounding tiles or a covering that has lifted, a sounding survey mapped across the floor, followed by a small number of targeted core samples in the worst-affected areas, tends to give the clearest picture.
Where cracking is the presenting symptom, the sequence usually leans more heavily on visual pattern analysis and crack width monitoring in the first instance, reserving core sampling for confirming thickness or bond only once a structural or screed-specific cause has been narrowed down.
Recording and interpreting results
Results need to be recorded against the relevant standard's methodology, since a moisture reading or core sample taken incorrectly can be challenged or disregarded in a dispute context. Location, date, equipment used and site conditions at the time should all be logged alongside the readings themselves.
Interpreting the results against the original specification, rather than a generic assumption, is the final step, since what counts as an acceptable reading varies by screed type, thickness and intended floor covering.
Common pitfalls in a screed investigation
A frequent mistake is taking a moisture reading immediately after removing a floor covering, before the probe has had time to equilibrate with the screed, which can produce a misleadingly low reading and an incorrect conclusion. Another is coring in a single location and treating the result as representative of the whole floor, when in practice thickness and moisture can vary meaningfully across even a modest-sized room.
Testing with equipment or a methodology not suited to the specific screed type is a further common error, since a technique validated for cementitious screeds does not always transfer directly to calcium sulfate formulations, and using the wrong reference standard can undermine an otherwise sound investigation.
Building a defensible record
Where the investigation may need to support a dispute or insurance claim, keeping dated photographs of each test location, a written log of equipment used and calibration status, and a clear chain of custody for any samples removed all add weight to the final findings. A report that sets out the sequence followed and the reasoning behind each test chosen, rather than presenting isolated results, is far easier for a third party to assess and rely on later.
Commissioning an independent surveyor to carry out or oversee this sequence, rather than relying solely on findings produced by one of the parties with an interest in the outcome, tends to be worthwhile once more than one trade's work is potentially in question.
Testing a suspect screed floor — the points that decide it
Need a suspect screed floor investigated properly?
We can carry out a structured survey and testing programme and provide clear findings on the cause of the problem. Call 07791 510849.
Or call our landline on 01392 237700
Testing a suspect screed floor — your questions
Screed faults & diagnostics
Recording evidence for a screed dispute
Screed faults & diagnostics
Structural movement versus screed defects
Problems
Screed problems
Screed faults & diagnostics
Sand cement patch repairs in liquid screed
Screed faults & diagnostics
Cracking Over Pipe Runs
Screed faults & diagnostics
Uneven Levels and High Spots
In short
Investigating a suspect screed floor works best as a structured sequence, from visual and sounding survey through to moisture and core testing.
Need a suspect screed floor investigated properly?
We can carry out a structured survey and testing programme and provide clear findings on the cause of the problem. Call 07791 510849.