Post-pour care
The curing and early protection regime after a liquid screed pour
A description of the short curing and protection period immediately after a pour, distinct from the longer drying process that follows.
Need guidance on protecting a freshly poured floor?
We'll talk you through the specific curing and protection steps for your screed and site.
Or call our landline on 01392 237700
Curing is a separate, earlier stage from drying: it's about giving the screed the right conditions to gain initial strength before it's exposed to normal site traffic or accelerated drying measures. It typically lasts a matter of days rather than the weeks that follow for full drying, but the two are easily confused because both happen in the same room in the same early period.
Getting the first few days right has a lasting effect on the finished floor, even though drying continues for a much longer period afterwards. Damage, disturbance or the wrong conditions during curing can leave marks or weaknesses that remain visible or measurable long after the floor has otherwise dried out.
Because curing is a relatively short and controlled window, it is usually the point where clear instructions and simple barriers make the biggest practical difference, before the site returns to its normal level of activity around the new floor.
Curing & early protection regime — the points that decide it
- The poured area is typically closed off to foot traffic for an initial period to allow the surface to gain sufficient strength.
- Draughts and direct heat should generally be avoided in the very early curing period, as uncontrolled rapid surface drying can cause cracking.
- Doors and windows near the poured area are often kept closed initially to prevent uneven air movement across the surface.
- Barriers or signage are used to prevent accidental access before the floor is ready to bear light foot traffic.
- The transition from curing to active drying (ventilation, heating) is timed according to the manufacturer's guidance for the specific product.
- Any damage to the surface during curing, such as impact marks or contamination, is far harder to remedy once the screed has hardened further.
- Temperature swings in the room, such as sudden heating being switched on, are generally avoided during the earliest curing days.
- Direct sunlight through large glazed areas can cause uneven surface drying and is sometimes shaded during the curing period.
- A clear handover of curing instructions to site management helps ensure the regime is followed once the crew has left.
Why early conditions matter more than they might seem
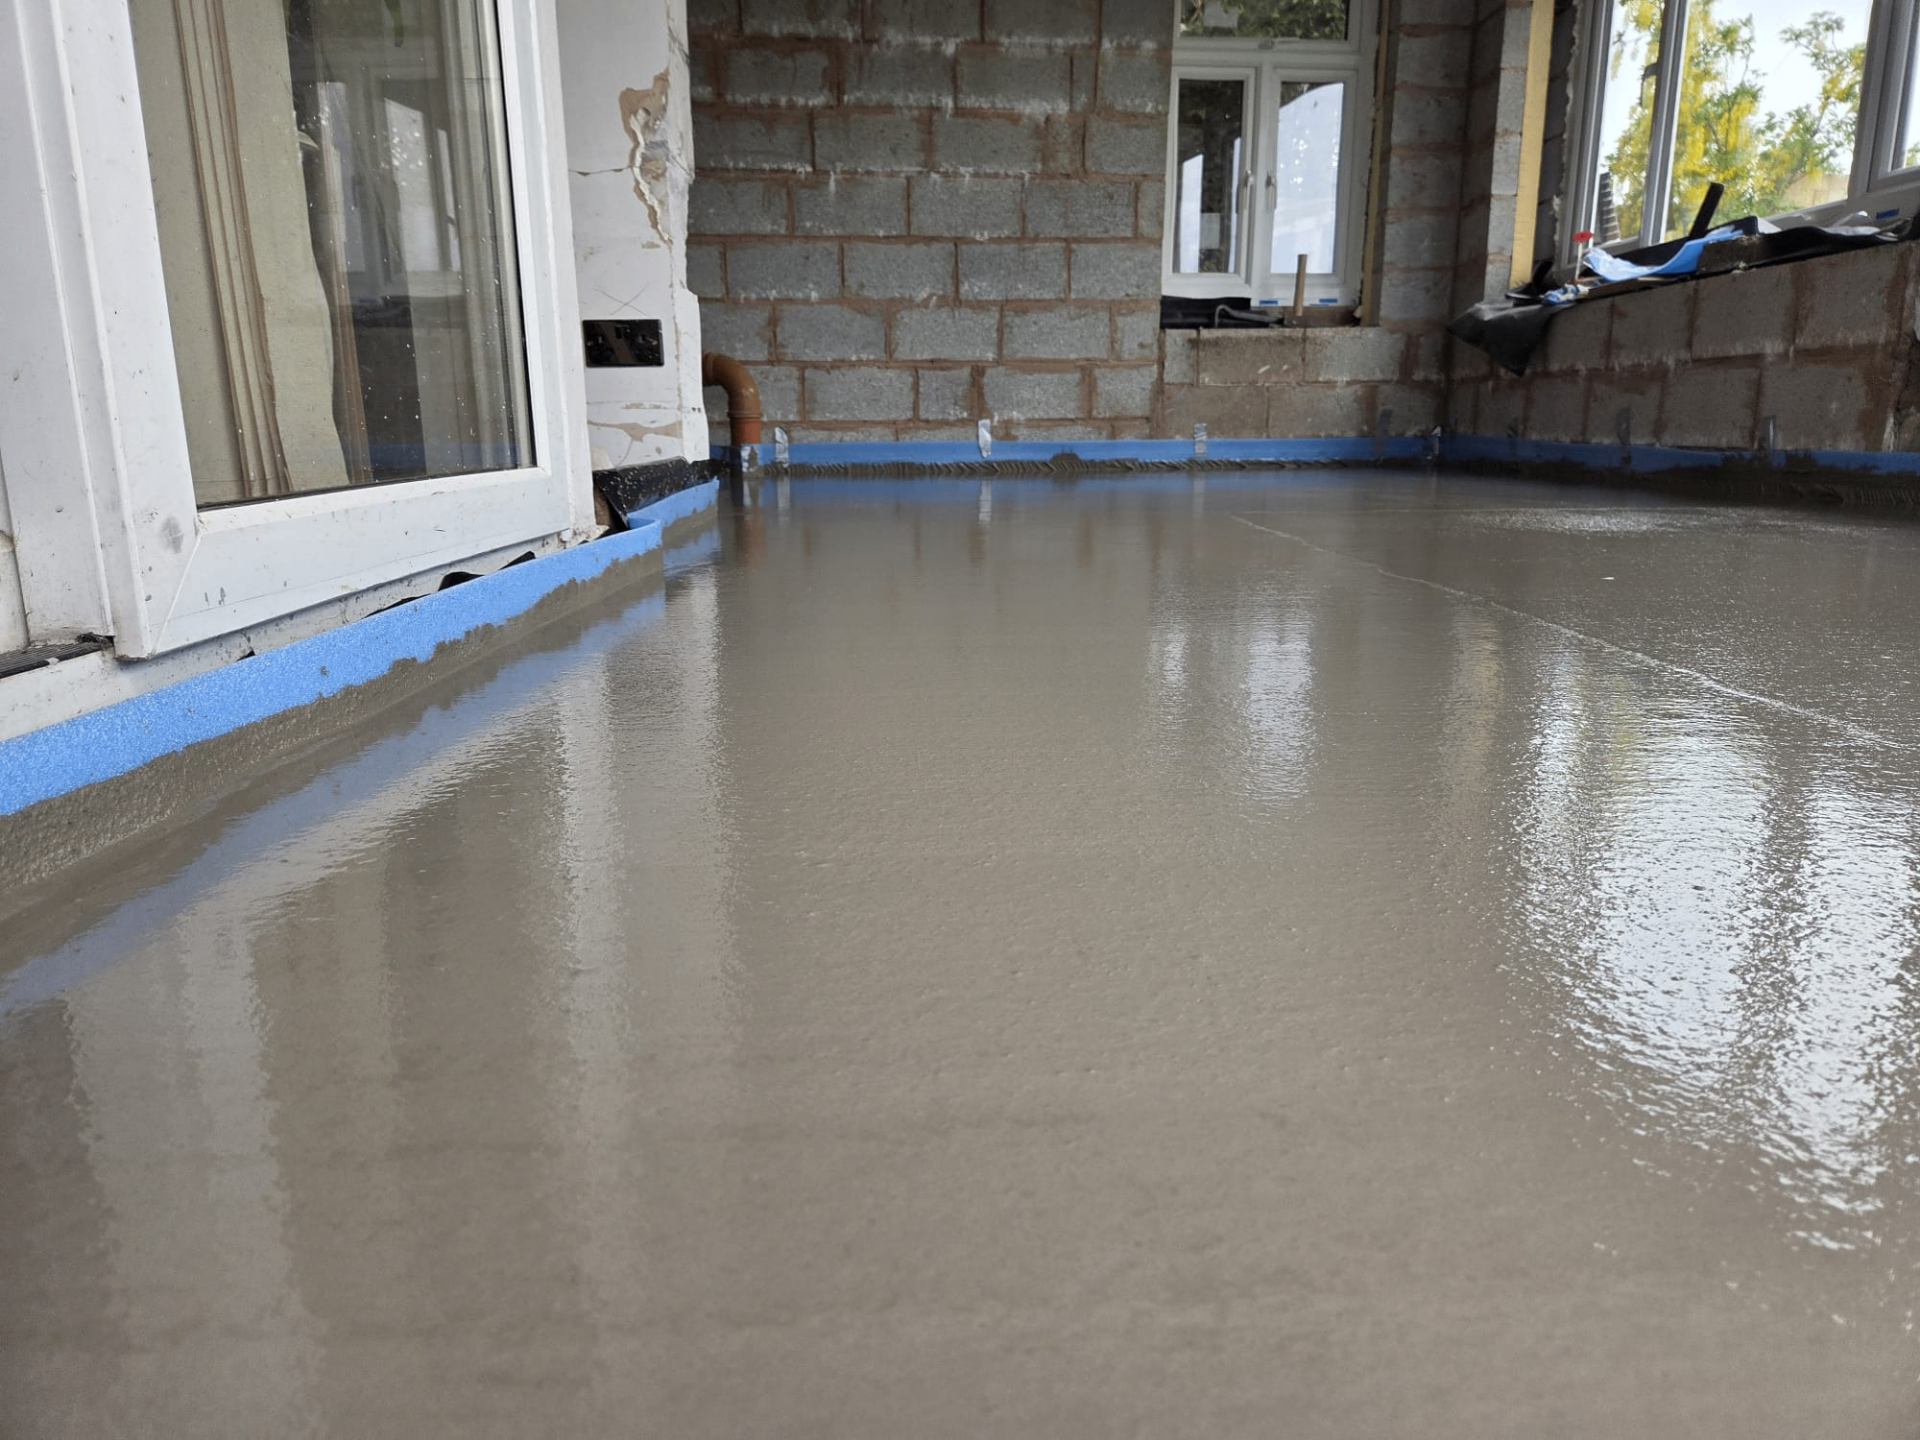
In the first day or two, the screed is still gaining strength and is vulnerable to surface damage or uneven drying stresses. Conditions during this period are managed deliberately rather than left to whatever the building's ambient environment happens to be.
A stable, moderate environment in the room allows the surface to gain strength evenly, whereas an uncontrolled draught across part of the floor, or a patch of direct sun, can cause that area to dry unevenly relative to the rest, sometimes visible as surface marking later.
Moving from protection to active drying
Once initial curing is complete, the approach usually shifts towards encouraging drying through ventilation or controlled heating, following the specific product's guidance rather than a generic rule of thumb. This shift is usually confirmed by the installer rather than assumed from a fixed number of days.
The change in approach is often gradual rather than a single switch, with ventilation introduced first and more active heating brought in once the floor has developed enough strength to tolerate it without adverse effects.
What can go wrong during curing
The most common issues during curing arise from impatience: someone walking across the floor before it's ready, heavy items being placed on it, or heating being switched on too aggressively in an attempt to speed things along. Each of these can leave a lasting mark on the finished floor.
Contamination from other trades, such as paint spills, plaster splashes or dropped tools, is another common early-stage issue, which is why keeping the area closed off and clearly signed matters as much as managing temperature and airflow.
Who is responsible for maintaining the regime
On a site with multiple trades, responsibility for keeping the curing area closed off and maintaining stable conditions often needs to be explicitly handed to site management once the screed crew has left, rather than assumed to be self-evident to everyone on site.
A brief written note of the curing instructions, left with whoever is managing the site day to day, reduces the risk of the regime being overlooked once attention moves on to other tasks.
Need guidance on protecting a freshly poured floor?
We'll talk you through the specific curing and protection steps for your screed and site.
Or call our landline on 01392 237700
In short
A description of the short curing and protection period immediately after a pour, distinct from the longer drying process that follows.
Curing & early protection regime — your questions
Other pages that answer this properly
Need guidance on protecting a freshly poured floor?
We'll talk you through the specific curing and protection steps for your screed and site.