Underfloor heating
Pipe Encapsulation and Avoiding Voids in UFH Screed
A void beneath UFH pipe insulates that stretch of the loop from the screed above; understanding how voids form helps installers avoid them.
Coordinating pipe and pour
We work directly with UFH installers to agree fixing, testing and pour sequencing before we pump.
Or call our landline on 01392 237700
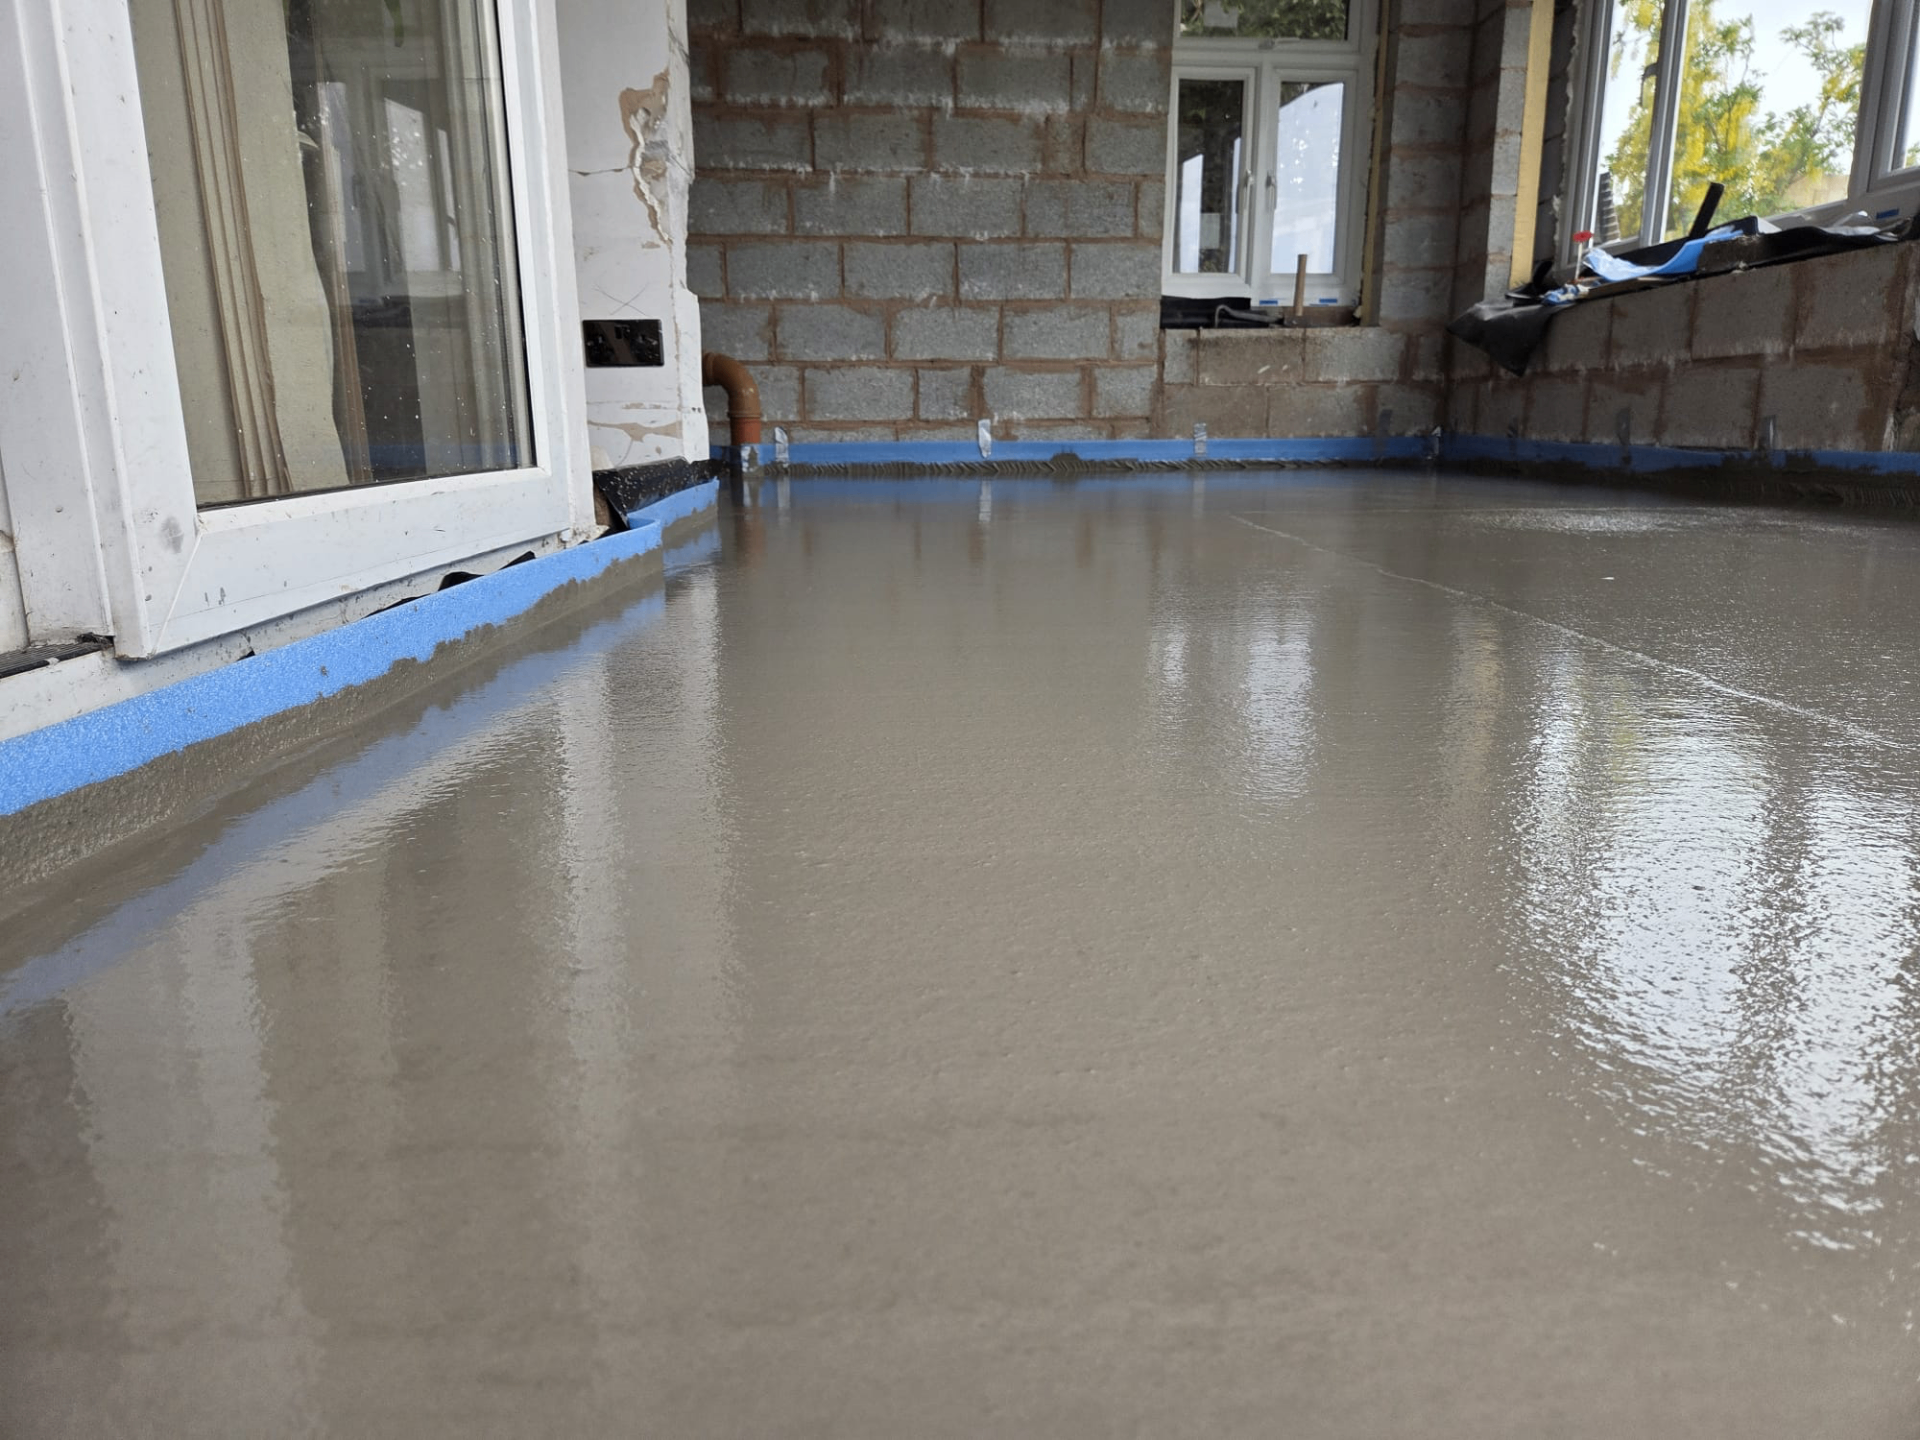
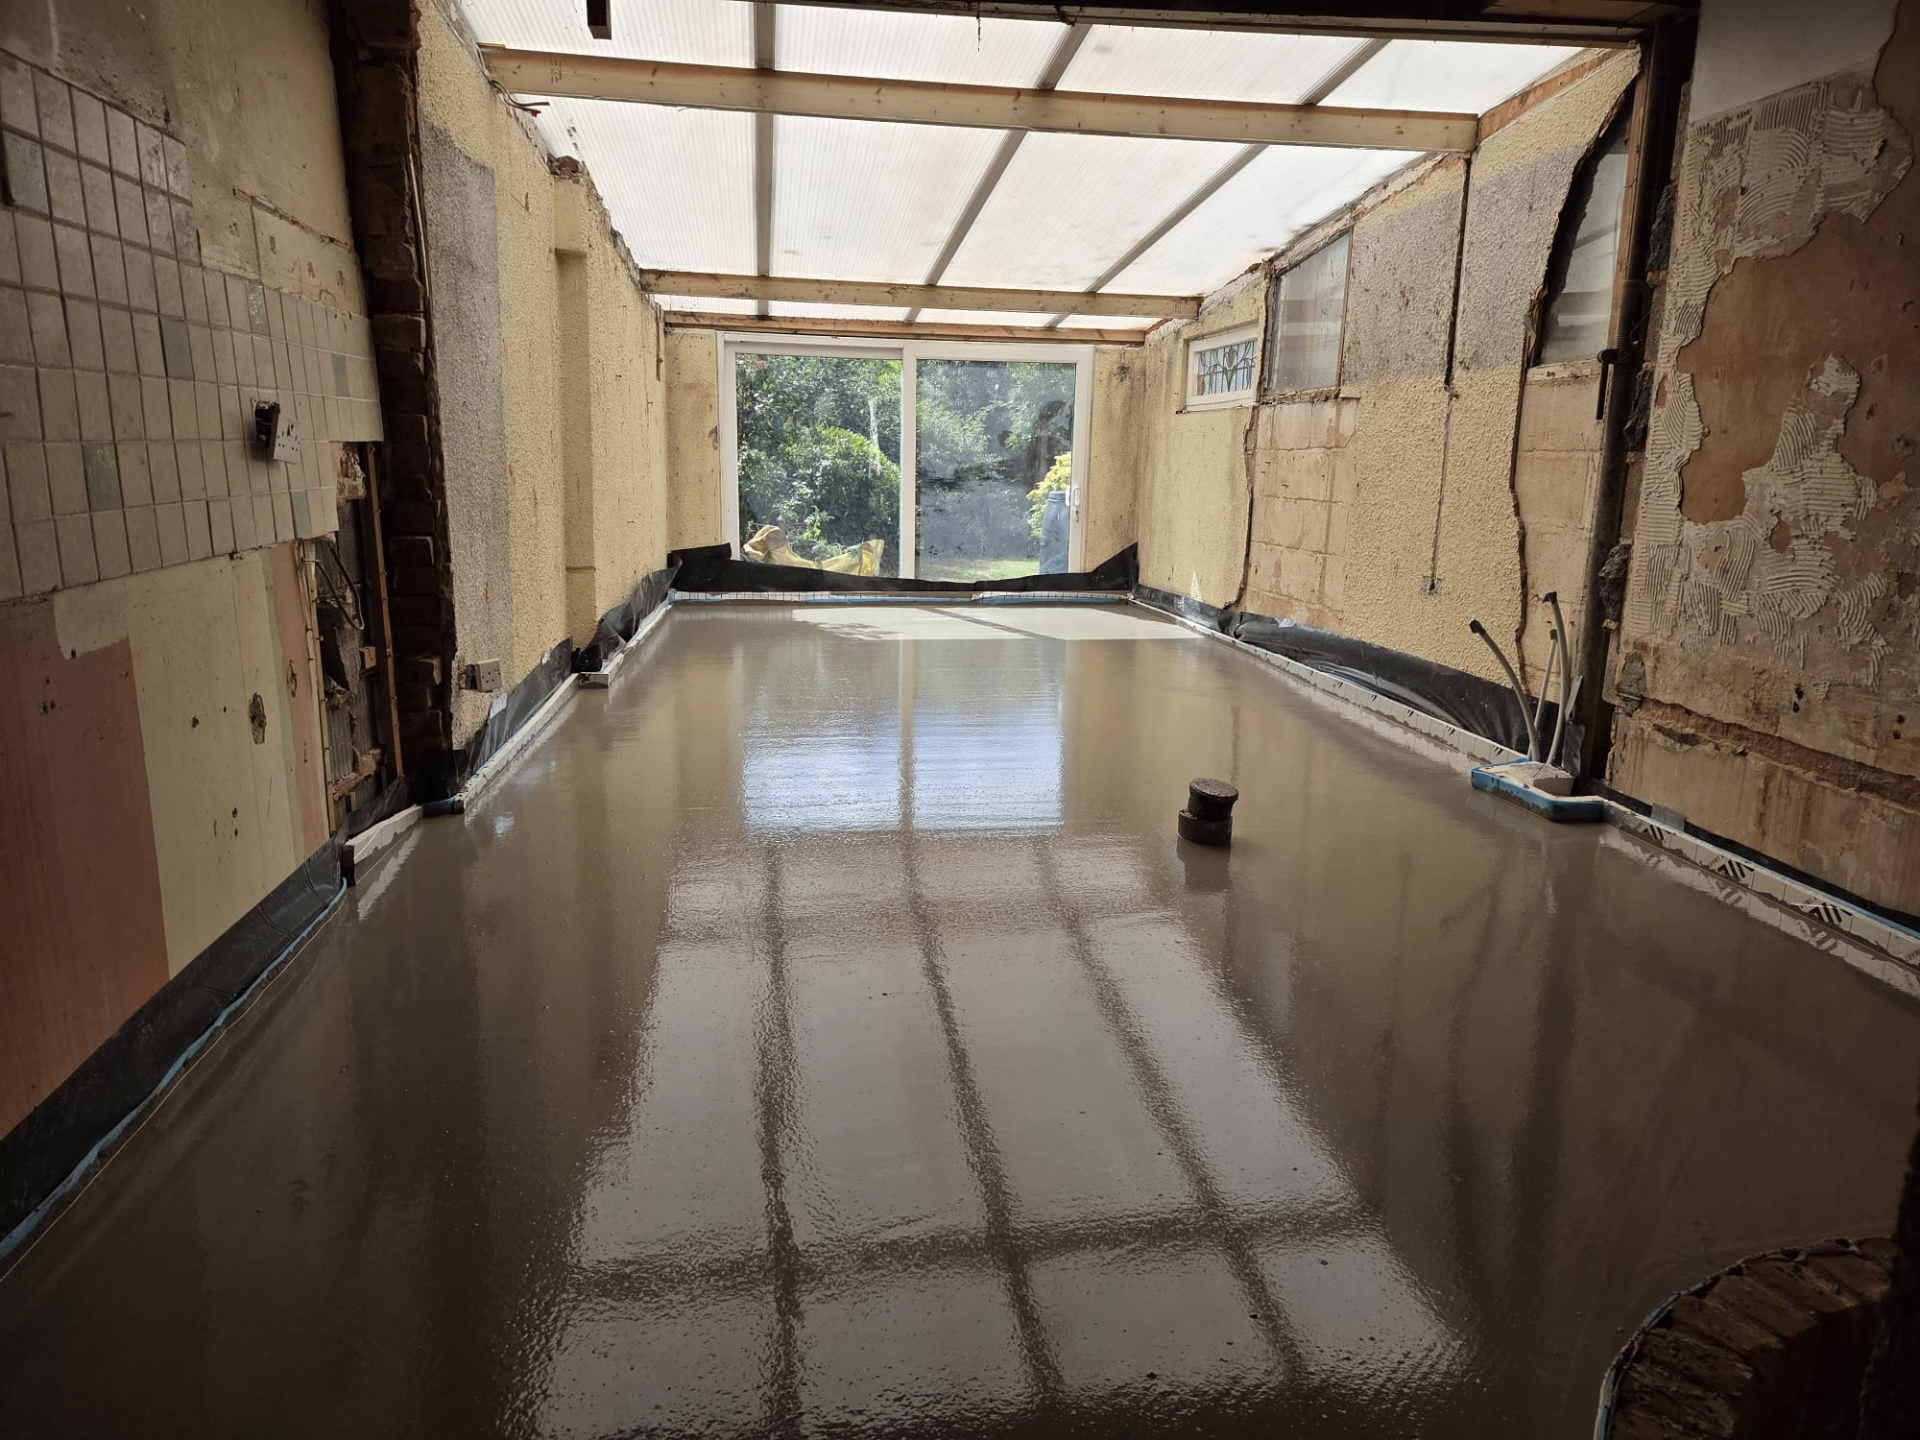
A void beneath a section of UFH pipe means that stretch of the loop is effectively insulated from the screed above by trapped air, reducing heat transfer into the room at that point. Because liquid screed flows rather than being compacted, encapsulation issues usually stem from how the pipe was fixed and how the pour was sequenced, not the screed itself.
Understanding the common causes helps installers and screeders coordinate to avoid them.
Voiding is more likely on tightly spaced loops, such as bathroom floors laid at 100mm centres, simply because there's less room for the screed to flow beneath each pipe run before the next one interrupts its path. Wider domestic spacing, typically 150mm to 300mm depending on output requirements, generally gives the material an easier route beneath the pipe.
Pipe Encapsulation & Voids — the points that decide it
Common causes on site
Pipe that isn't adequately restrained can lift slightly as screed is pumped across it, particularly at loop bends where clips are more widely spaced. Fixing systems — whether clip rail, staple gun or castellated panel — are chosen partly to keep the pipe securely down at the correct spacing during the pour.
Pouring too quickly in one area, or from a single point without appropriate spreading, can also outpace the screed's ability to flow beneath the pipe evenly.
What good practice looks like
Pipe fixed at the centres specified by the UFH designer, a pressure test carried out and witnessed before the pour, and a screed pour sequence that gives the material time to flow around pipework all reduce the risk of voiding. Communication between the UFH installer and the screeding team on pour day matters as much as the products used.
On-site flow testing before pouring
Many screed suppliers carry out a simple flow spread test on the batch before pumping begins, checking that the material's consistency falls within the expected range for the mix design. A screed that's too stiff won't flow beneath pipework as readily, increasing the risk of trapped air, while one that's too fluid can affect strength once cured.
This check takes only a few minutes on site and gives the pump operator a chance to adjust before a large area has already been poured with an out-of-spec batch.
Loop spacing and voiding risk
Bathrooms, en-suites and hallways often use tighter loop spacing to achieve higher output from a smaller floor area, and this tighter spacing narrows the gap the screed has to flow through beneath each pipe. Coordinating pour direction and rake technique with the UFH installer in these zones specifically can reduce the chance of a void forming in the areas most likely to need it.
Screed consistency and pump settings on the day
Pump pressure and output rate are set to suit the pipe spacing and screed consistency being used, and getting this wrong in either direction can affect encapsulation quality. Too high a pump rate in a small room with tight loop spacing risks outpacing the material's ability to flow beneath the pipe evenly.
Operators generally adjust pump settings as they move between rooms of different loop density on the same job, rather than running a single fixed setting across a whole floor with varying pipe spacing.
Recording pour data for troubleshooting later
Keeping a simple record of flow consistency checks, pour direction and any areas poured more slowly due to tight pipe centres gives a useful reference if a cold spot is reported once the system is commissioned, helping narrow down whether voiding is a likely cause.
This kind of record costs little to keep at the time but can save considerable effort later, since without it, diagnosing a suspected void months after handover relies on memory rather than anything written down on pour day.
In short
A void beneath UFH pipe insulates that stretch of the loop from the screed above; understanding how voids form helps installers avoid them.
Coordinating pipe and pour
We work directly with UFH installers to agree fixing, testing and pour sequencing before we pump.
Or call our landline on 01392 237700
Pipe Encapsulation & Voids — your questions
Coordinating pipe and pour
We work directly with UFH installers to agree fixing, testing and pour sequencing before we pump.