
Substrates & Preparation
Preparing Stepped or Split-Level Slabs for Liquid Screed
Level changes between rooms or slab areas need dams, edge details and a clear pour sequence, since a self-levelling screed will naturally seek the lowest point.
Working with a stepped or split-level floor?
We'll plan the pour zones and level changes so the finished floor reads as one consistent surface.
Or call our landline on 01392 237700
Extensions, staged builds and older properties with mismatched floor levels often present a slab that isn't a single flat plane — steps between rooms, split levels across an open-plan area, or a slight fall from one part of the building to another. Because liquid screed is self-levelling and finds its own horizontal surface, any change in level needs to be planned for rather than discovered mid-pour.
The usual approach is to break the floor into separate pour zones divided by temporary dams, each brought to its own finished level, rather than trying to pour one continuous area across a level change and hoping the screed depth works out everywhere.
Getting the sequencing and dam positions right at the design stage matters more on split-level floors than on almost any other substrate condition, since a mistake here isn't a cosmetic issue — it can mean an entire zone poured to the wrong depth, which is far harder to correct once the material has cured.
Stepped & Split-Level Slabs — the points that decide it
- A self-levelling screed will flow toward the lowest point across a step or level change unless it's physically dammed off
- Split-level floors are usually poured as separate zones with temporary edge restraints, allowing each zone to reach its own correct finished level
- Screed depth needs checking at both the highest and lowest points of a stepped substrate, since a level change can leave one end shallower than the minimum required
- Movement or day joints are often positioned to coincide with a change in level, which also gives a natural break point for the pour sequence
- Insulation thickness can be varied locally to help even out a substrate level change before the screed layer goes on
- Doorway thresholds between split-level rooms need particular attention, since that's usually where two separately-poured zones meet
- Dam boards need to be robust and well-fixed, since they hold back the full head of wet material until the adjacent zone has set enough to be self-supporting
- Sequencing which zone is poured first can affect programme, particularly where access to a lower level runs through an upper one
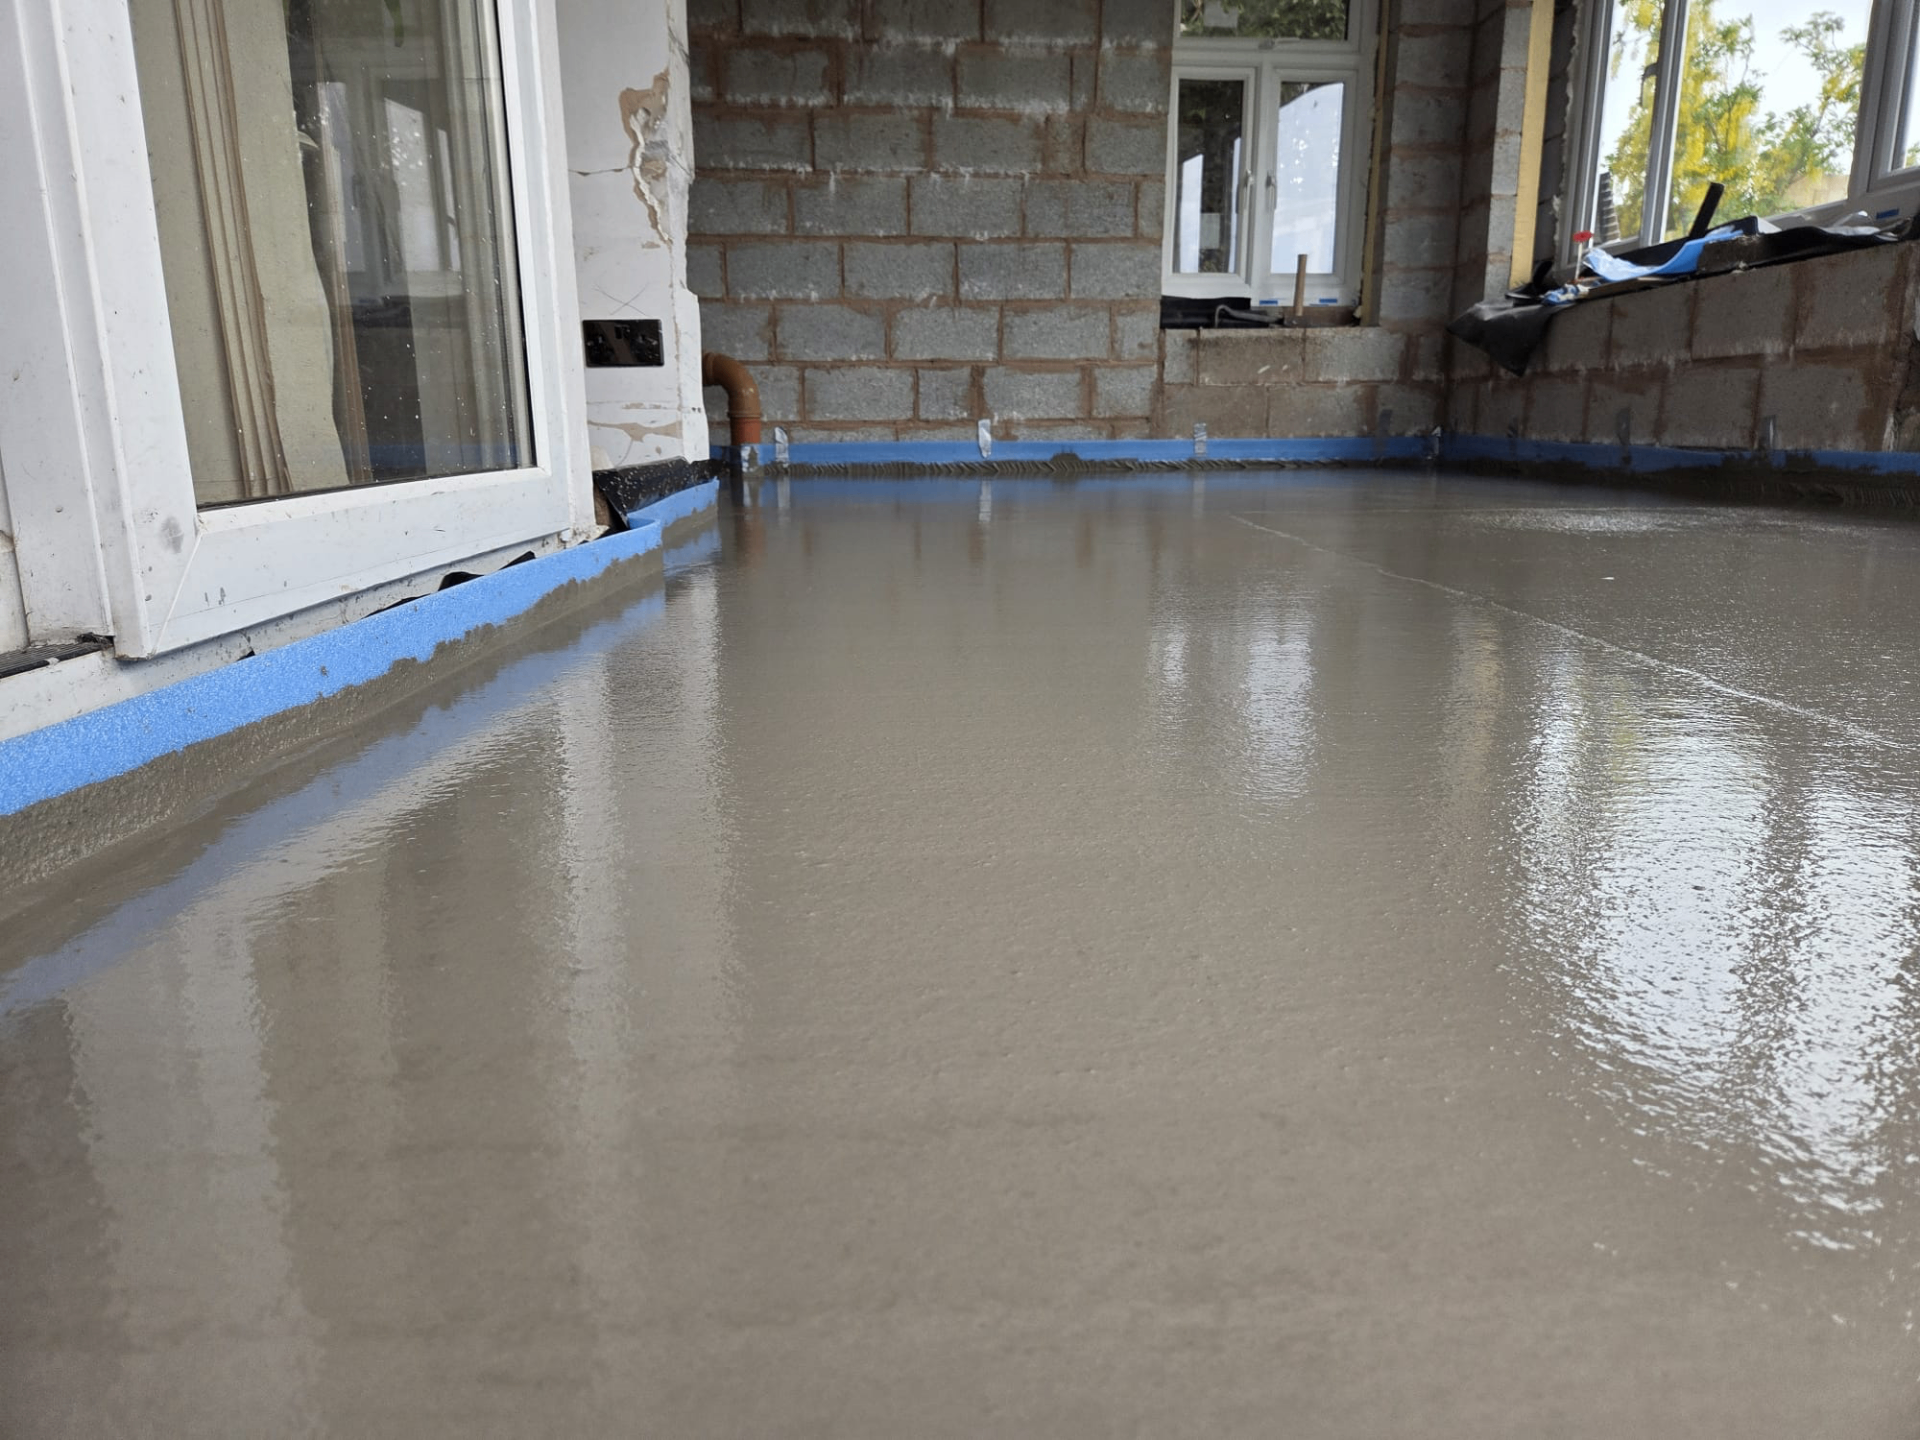
Why level changes need dividing rather than pouring through
Because a liquid screed finds its own level under gravity, pouring it across an unrestrained step will simply see the material flow down toward the lower area, leaving the upper section thin or bare and the lower section overfilled. Dividing the floor into zones with temporary dams lets each area be brought up to its own correct depth independently, with the dam removed once each zone has set enough to hold its edge.
The dam itself needs to be strong enough to resist the hydrostatic pressure of the wet mix pressing against it, particularly on a larger zone, so a flimsy or poorly fixed restraint can fail partway through a pour and undo the whole point of dividing the floor in the first place.
Levelling the substrate before insulation
Where the level change is relatively minor, it can sometimes be absorbed by varying the insulation thickness across the affected area rather than by staged screed pours, effectively building a stepped insulation layer that brings the screed's starting point back to one consistent level before the pour. Which approach suits a given floor depends on the size of the level difference and the insulation build-up already planned.
This method works well for gentle level changes but becomes impractical once the difference exceeds what can sensibly be absorbed by varying board thickness, at which point dividing the pour into zones is the more reliable option.
Planning the pour sequence across zones
On a genuinely split-level floor, the order in which zones are poured can matter as much as the dam positions themselves, particularly where access to a lower zone runs across an upper one that's already poured. Working out this sequence before the pump arrives avoids the installation team having to improvise a route across wet or recently-poured material.
Where several zones are involved, it's often more efficient to pour them on the same day in a planned order rather than returning on separate visits, provided the dams and levels for each zone have already been checked and are ready to go.
Detailing the junction at doorway thresholds
Split-level floors very often meet at a doorway, which becomes the natural point where two independently-poured zones come together. This junction needs a clear plan for how the two finished levels relate to each other — whether that's a small step, a ramped transition, or a matched level either side — agreed before either zone is poured.
Leaving this decision until both zones are already down removes the flexibility to adjust either side, so it's worth confirming the intended threshold detail as part of the same planning conversation that sets the dam positions.
In short
Level changes between rooms or slab areas need dams, edge details and a clear pour sequence, since a self-levelling screed will naturally seek the lowest point.
Working with a stepped or split-level floor?
We'll plan the pour zones and level changes so the finished floor reads as one consistent surface.
Or call our landline on 01392 237700
Stepped & Split-Level Slabs — your questions
Working with a stepped or split-level floor?
We'll plan the pour zones and level changes so the finished floor reads as one consistent surface.