
Renovation & extension detailing
Pouring Liquid Screed to Match Existing Floor Levels
Extensions and part-refurbishments live or die on whether the new floor meets the old one flush — we set that datum before the first bag of insulation goes down.
Get your levels surveyed before we quote
Name, phone, email — we'll reply the same working day with a fixed price.
Or call our landline on 01392 237700
A liquid screed pour that's technically flat and technically dry can still be the wrong job if it leaves a step at the door into the original house, or clears a skirting by 3mm where a new one was supposed to sit flush. Matching an existing floor level is a separate discipline from getting the pour itself right.
This comes up constantly on extensions, kitchen-diner conversions and single-storey rear additions across Exeter and Devon, where the new floor build-up has to land at exactly the same finished level as the original hallway, lounge or kitchen — sometimes with a different floor covering thickness on each side.
Here's how we set and hold that datum, and what we need from you or your builder to get it right first time.
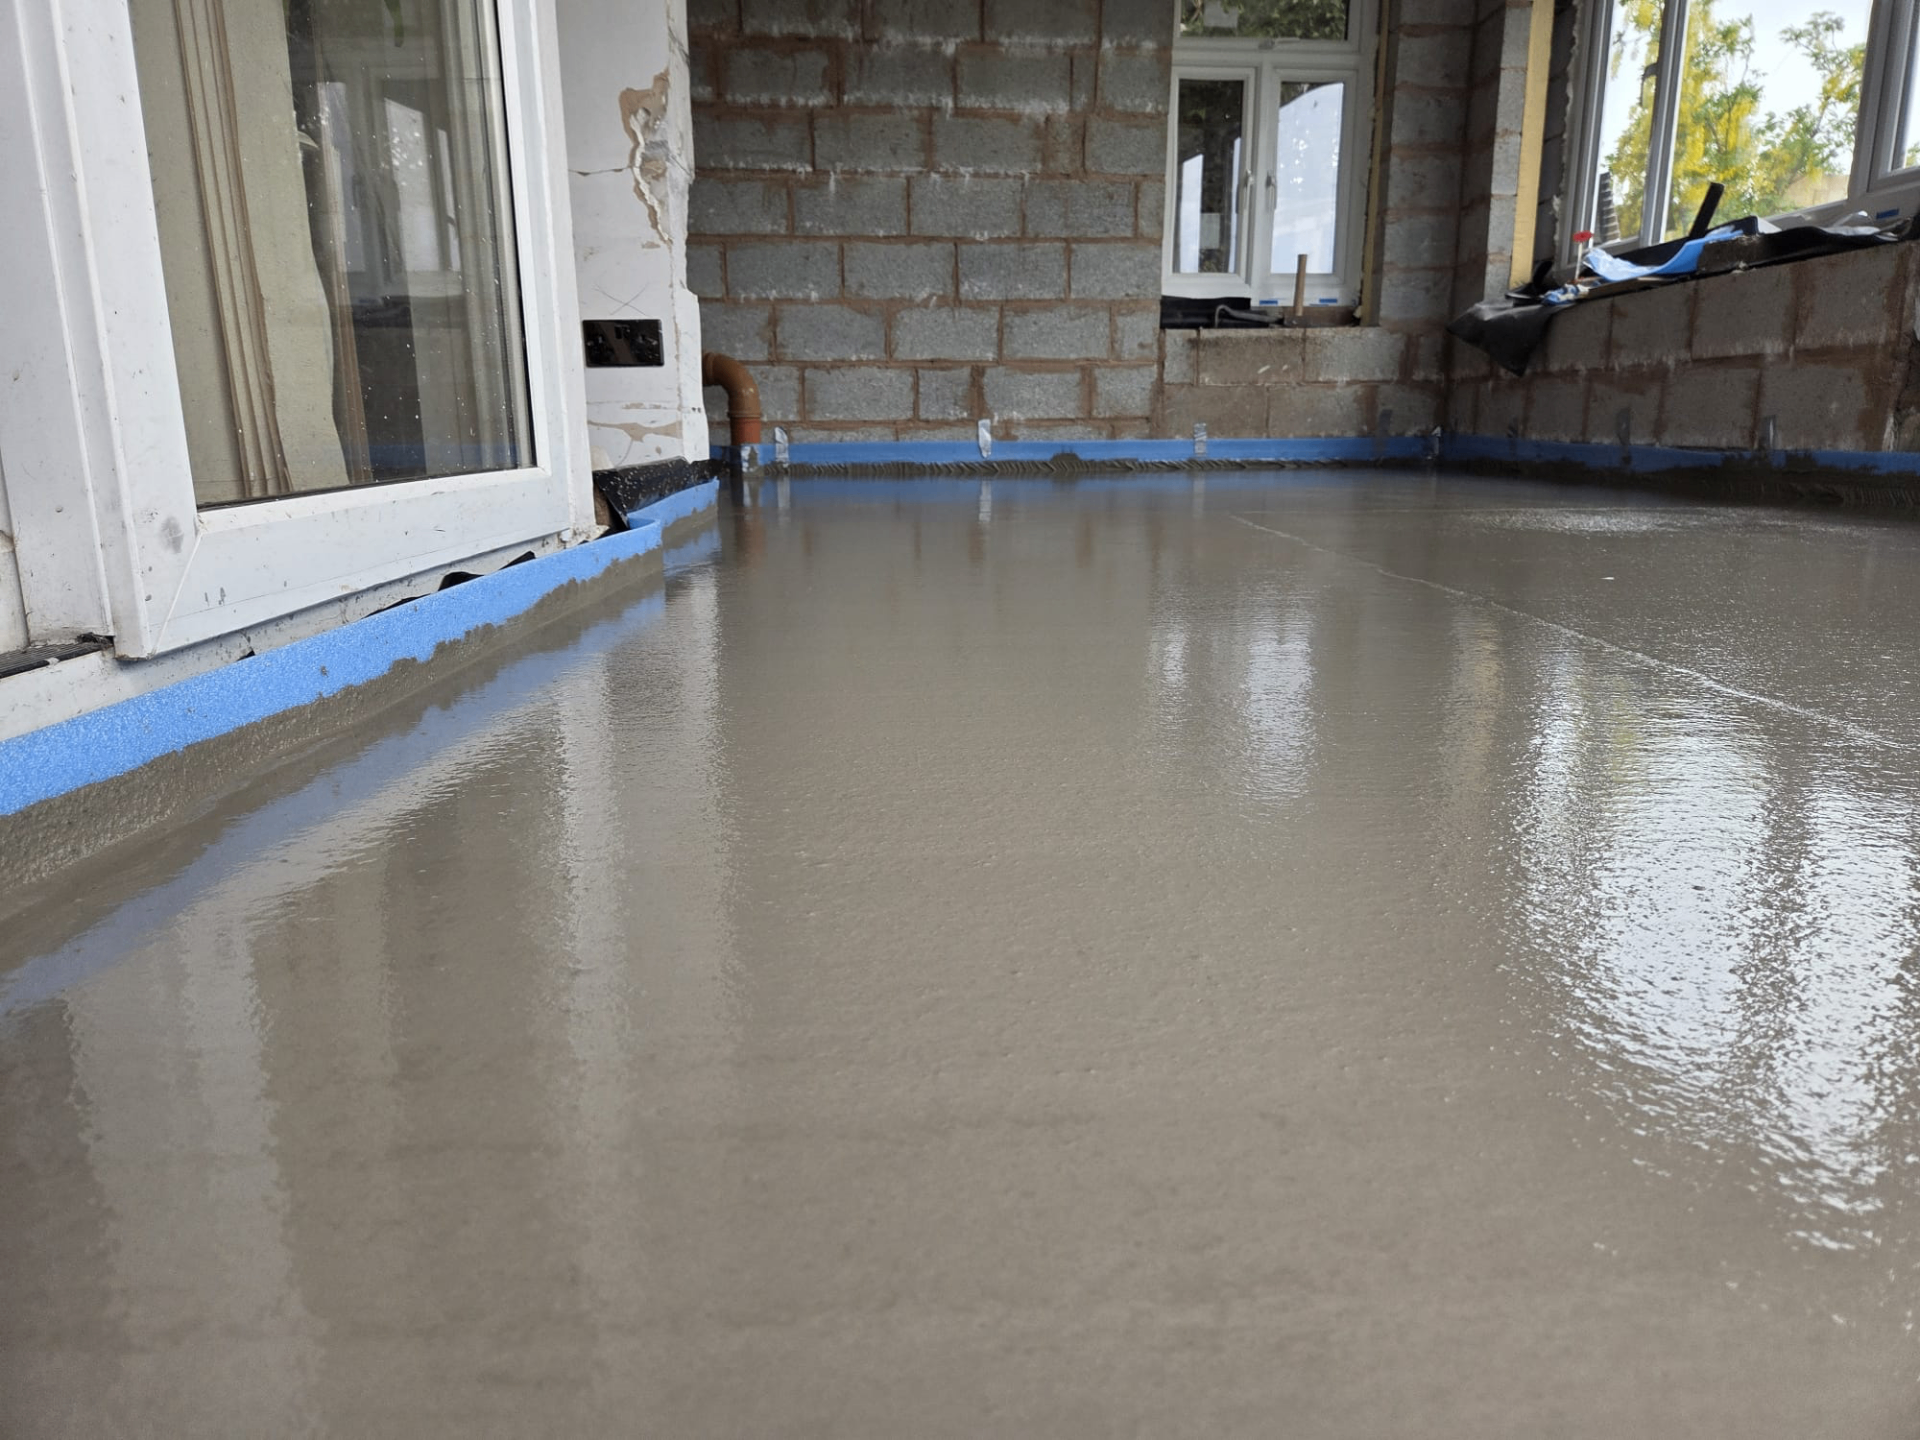
How we set the finished floor level
- 1
Existing level survey
We laser-survey the existing floor at the junction point, not just at the doorway threshold.
- 2
Build-up calculation
We work backwards from the target finished floor level, subtracting the floor covering thickness on both sides.
- 3
Insulation depth adjustment
Insulation thickness in the new area is set to leave the correct screed depth for the calculated level.
- 4
Datum pins
Physical datum pins or laser marks confirm the pour level at multiple points before the pump starts.
- 5
Pour and check
We check level against the existing floor immediately after the pour while it can still be adjusted.
Where this catches people out
- Different floor coverings either side of the junction (tile one side, engineered wood the other) change the required screed level, not just the finish height
- Door thresholds and undercuts need checking against the new finished level, not the old one
- Sliding or bi-fold door cills often have a minimum step built into the frame that the screed level must respect
- Skirting heights can expose a mismatch that wasn't visible until the floor coverings go down
- Kitchen units and appliance housings are usually set to the old assumed level, which can conflict with a corrected new one
Get your levels surveyed before we quote
Send us the existing floor build-up and your planned floor coverings and we'll set the correct screed datum before pricing the job.
Or call our landline on 01392 237700
What we need from you before the survey
| Item | Why it matters |
|---|---|
| Confirmed floor covering type and thickness (both sides) | Determines the exact screed finish level needed |
| Door and window cill details | Sets a hard minimum or maximum floor level at openings |
| Existing floor build-up (if known) | Avoids assuming a level that isn't actually there |
| UFH manifold or pipe run drawings | Confirms minimum screed depth is still met at every point |
The screed pour itself is rarely the risk on a level-matching job. The risk is a level that was assumed rather than measured, discovered only once the floor covering goes down.
— Exeter Liquid Screeders
Matching Floor Levels — questions we get asked
Keep reading across the site
Get your levels surveyed before we quote
Send us the existing floor build-up and your planned floor coverings and we'll set the correct screed datum before pricing the job.