
Vinyl flooring defects
LVT Telegraphing Through a Liquid Screed Floor
When every crack, ridge or debris speck in the screed shows up as a shadow through the LVT above it, the floor prep — not the vinyl — is almost always to blame.
Get a telegraphing diagnosis
Name, phone, email — we'll reply the same working day with a fixed price.
Or call our landline on 01392 237700
LVT is unforgiving. Because it's thin and flexible, it takes on the exact profile of whatever it's stuck to. Any texture, joint line or contaminant in the screed beneath telegraphs straight through to the finished surface, often only becoming visible once the floor has had a few weeks of foot traffic and light exposure.
This isn't a manufacturing fault in the vinyl in the vast majority of cases we're called to. It's a substrate issue — either the screed itself, or more commonly a levelling compound applied over it that wasn't specified or laid correctly for the LVT thickness.
Here's what causes telegraphing, how we identify the source on site, and what the repair actually involves depending on how far the LVT install has progressed.
What telegraphs through LVT
- Screed joint lines and construction joints not skimmed flush
- Trowel or dappling-bar marks left in the surface finish
- Grit, dust or debris trapped under the smoothing compound
- Hairline shrinkage cracks not stabilised before covering
- Uneven levelling compound thickness across the floor
Why liquid screed is usually blamed unfairly
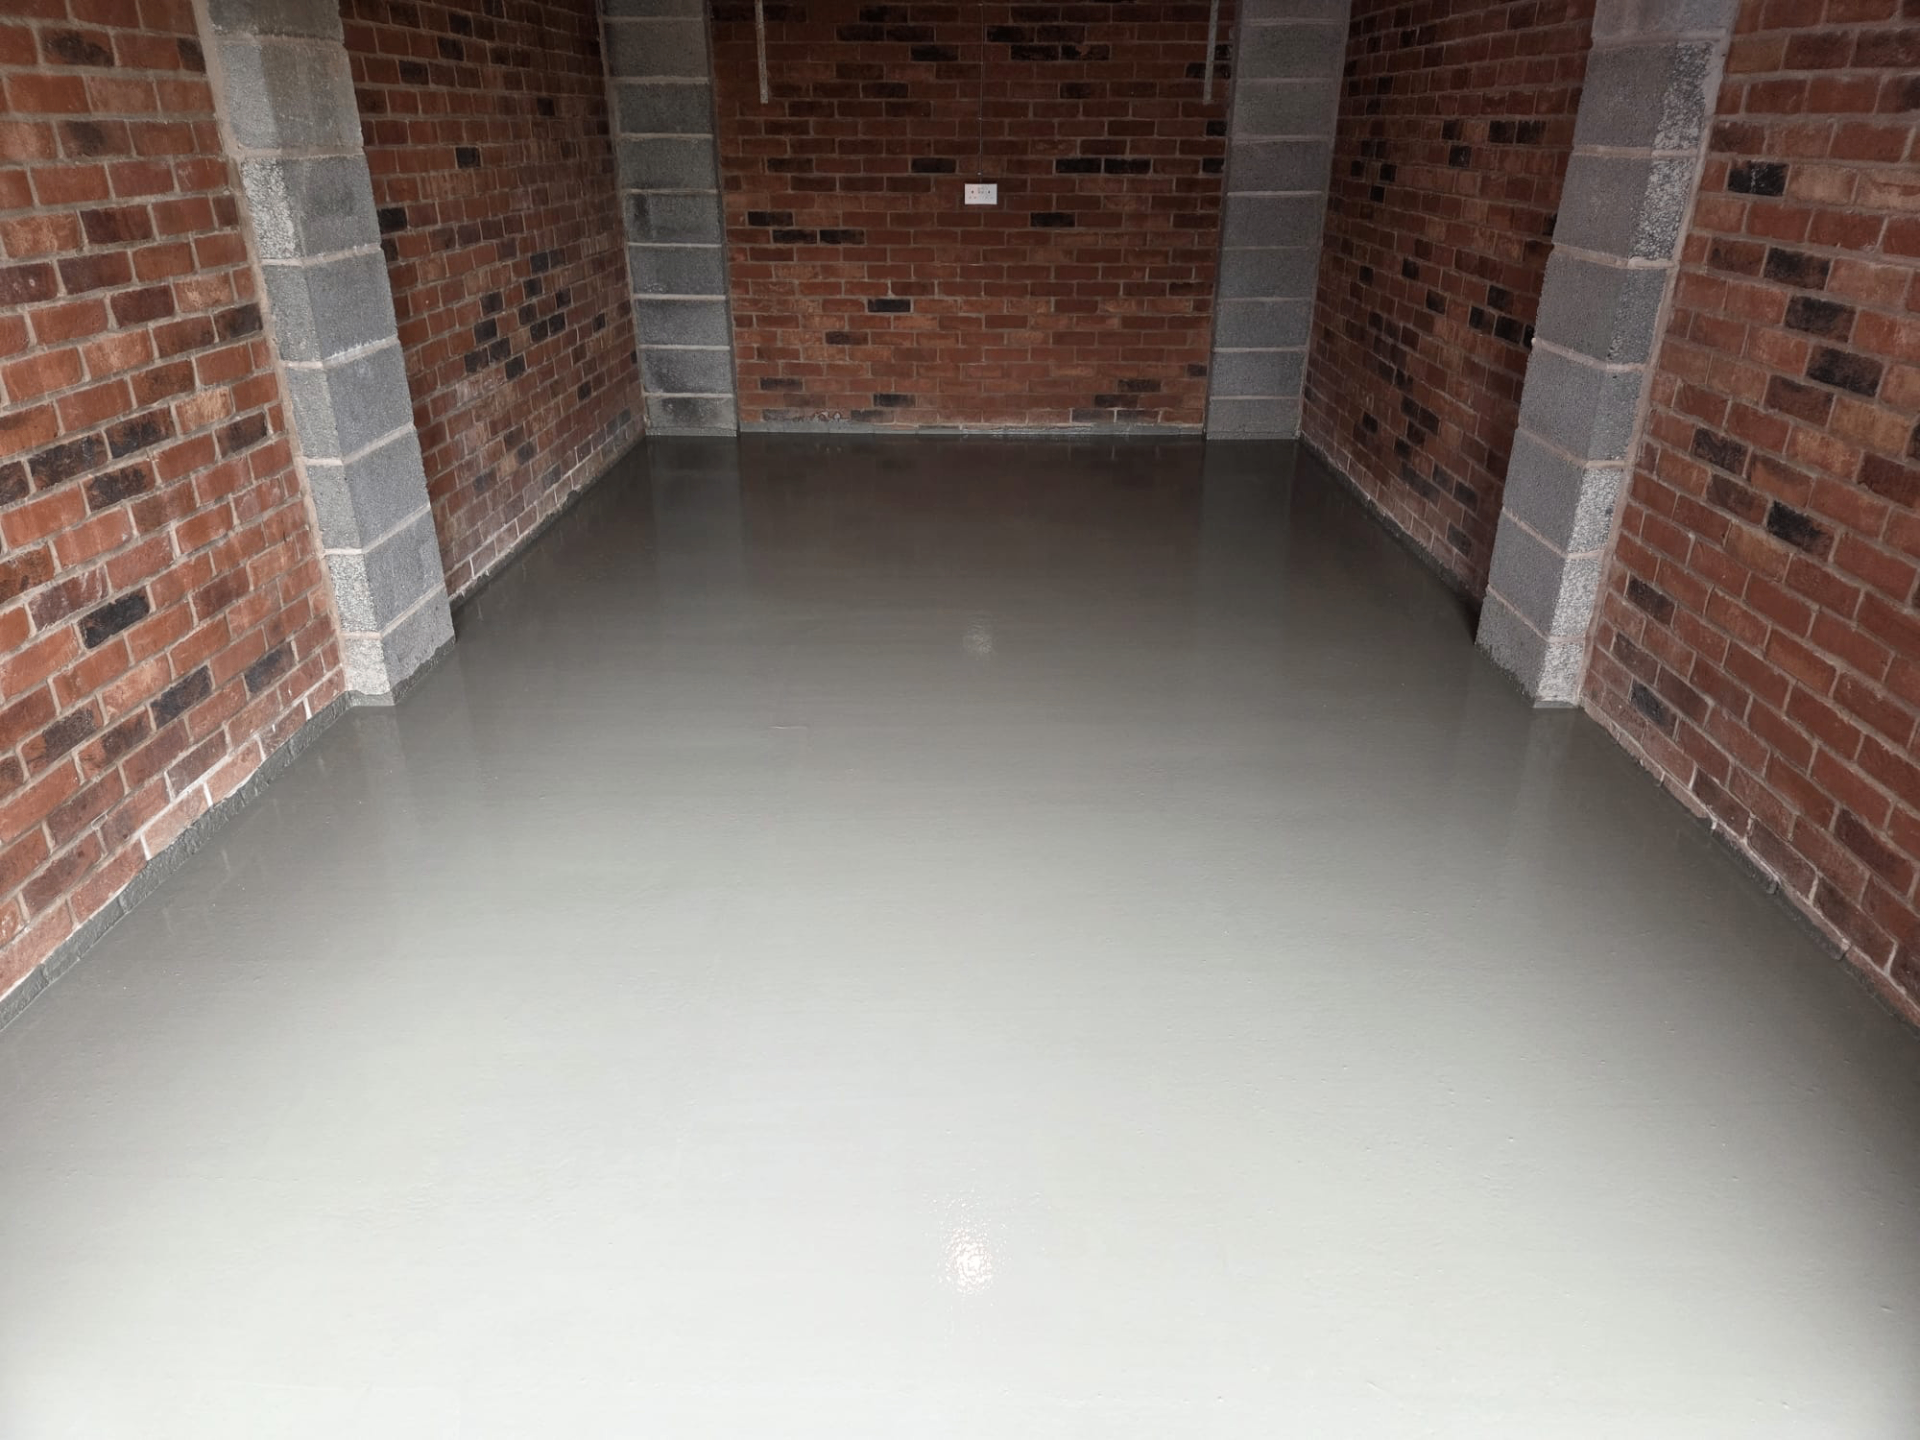
Liquid screed itself is genuinely flat — SR1 tolerance, laser-checked. Telegraphing complaints on our jobs almost always trace back to what happened after handover: a smoothing compound applied too thin, in one coat, over a screed that hadn't been fully prepared, sanded or primed.
LVT manufacturers specify a minimum smoothing-compound thickness and a maximum surface irregularity for a reason. Skip that step and the vinyl has nothing to hide behind.
How we investigate a telegraphing complaint
- 1
Site visit
Raking light across the floor reveals the exact pattern and location of the defect.
- 2
Lift a sample
Where possible, we lift a corner of LVT to inspect the compound and screed beneath directly.
- 3
Moisture and bond check
We confirm the screed wasn't still drying and that the compound has bonded correctly.
- 4
Root-cause report
You get a written finding — screed, compound or installation — before any repair is agreed.
Get a telegraphing diagnosis
Send photos in raking light and we'll give you an honest view on whether it's a screed, compound or fitting issue before you spend on a repair.
Or call our landline on 01392 237700
Repair routes depending on severity
Localised telegraphing
- Spot-skim the affected joints or marks
- Re-sand and re-prime the local area
- Re-lay LVT over the corrected patch
Floor-wide telegraphing
- Full mechanical sand of the smoothing compound
- Re-apply to correct thickness across the room
- Full LVT re-lay once cured and tested
LVT Telegraphing — questions we get asked
Keep reading across the site
Get a telegraphing diagnosis
Send photos in raking light and we'll give you an honest view on whether it's a screed, compound or fitting issue before you spend on a repair.